

IMPORTANT
Make sure to check what subscription plan you have.
Each subscription plan has a certain amount of seats available for artists.
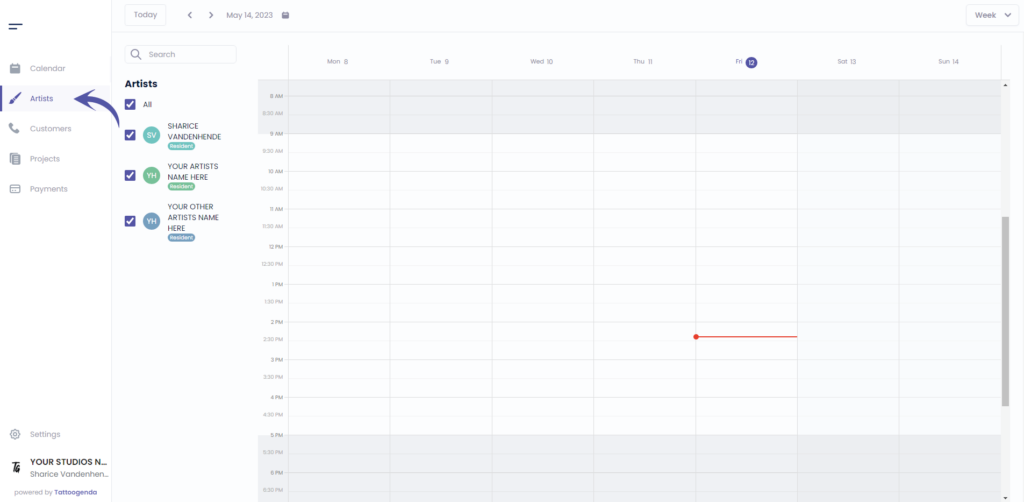
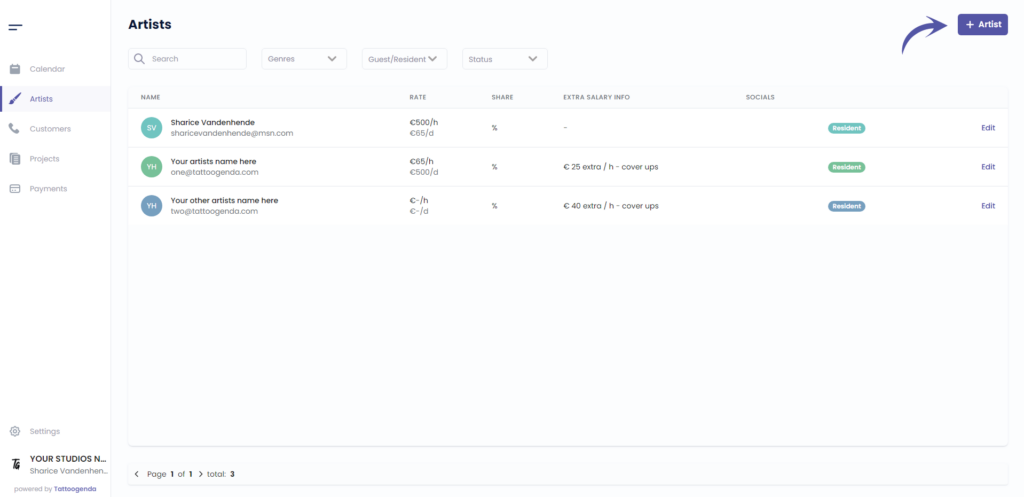
Go to ‘Artists’
Click on ‘ + Artist’
You will see the following pop up
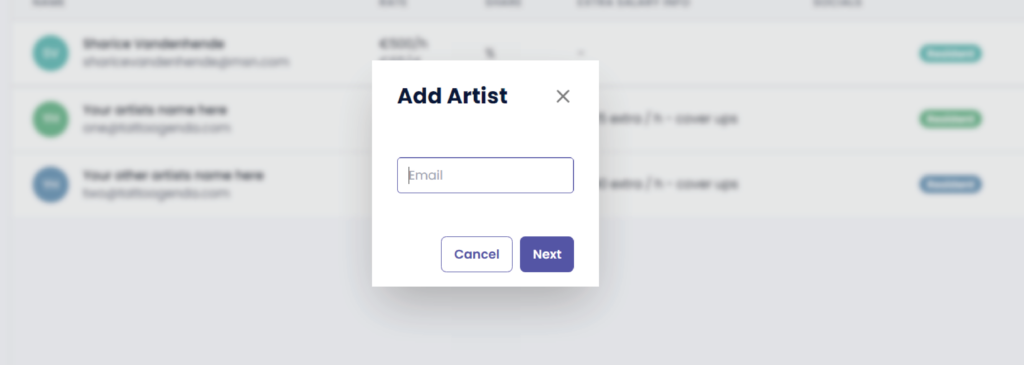
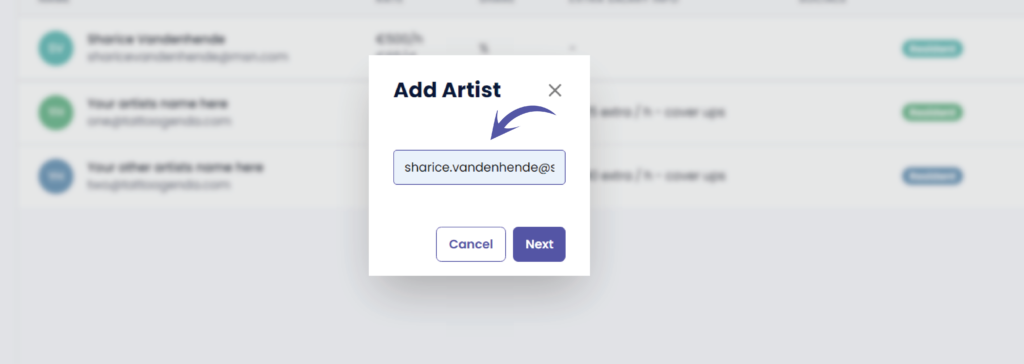
Enter the artists email
What if you don’t know your artists mail address? #
Sometimes you don’t know your guest artists email yet, or your artist doesn’t have a mail address.
In that case, just enter whatever dummy address you like. Eg. ‘whatever@whatever.com’.
You can still change the email address later.
Why do we ask for an email address? #
Some artists travel the world, and work in different studio’s.
If you would add an artist that already has a Tattoogenda account, TG would invite this existing artist to join your studio, after you hit ‘save’.
Now this artist will see the bookings you make for him, from inside his own account.
So a travelling guest artists can manage all his guest spots and bookings from inside one account.
If there is no account linked to the mail address you entered, then you will be automatically creating a new one.
Click Next
There will be some steps to complete
Who, Financial planning, Genres
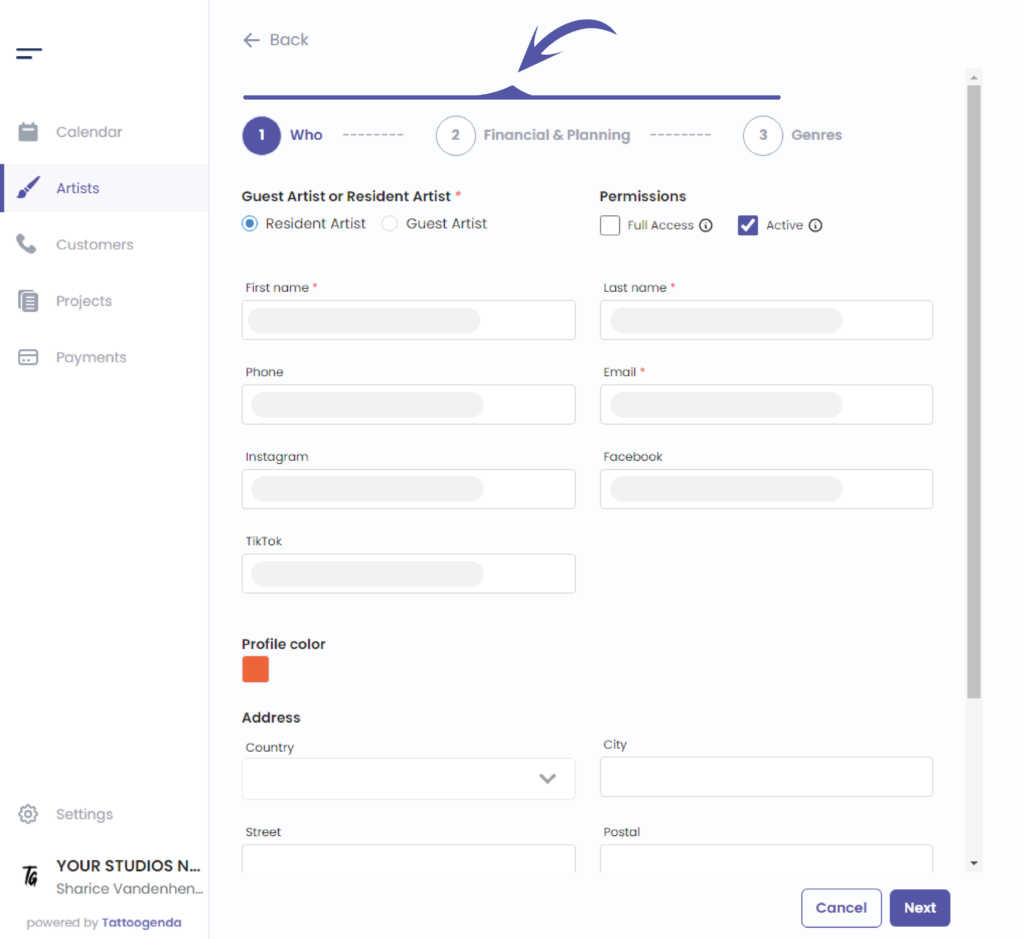
Let’s start with Who
Choose between resident artist or guest artist.
Resident artist: is always there. For resident artists you can add holidays.
Guest artist: is only there during guest spot periods. For guest artists you can add guest spot periods. (but no holidays)

Choose the artists permissions
FULL ACCESS: Can make and change their own appointments. Can add payments to their appointments, and see all the customers details.
NO FULL ACCESS: Can only read the appointments you made for them. They an not change or replace appointments. And they can not see the customers details. Use this setting if you don’t want your artists to contact their customers themselves. Eg. for first time guests.
ACTIVE / INACTIVE
This means you will see them in the calendar, filters, payment lists, etc.
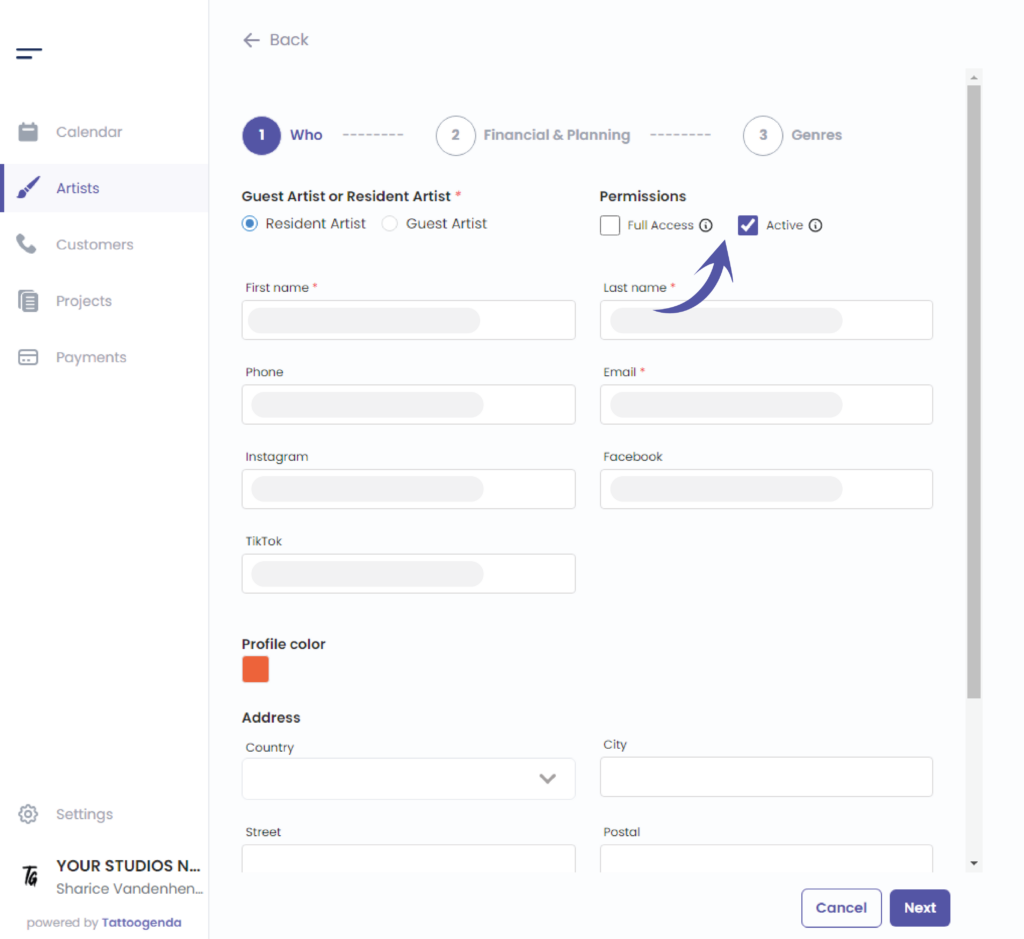
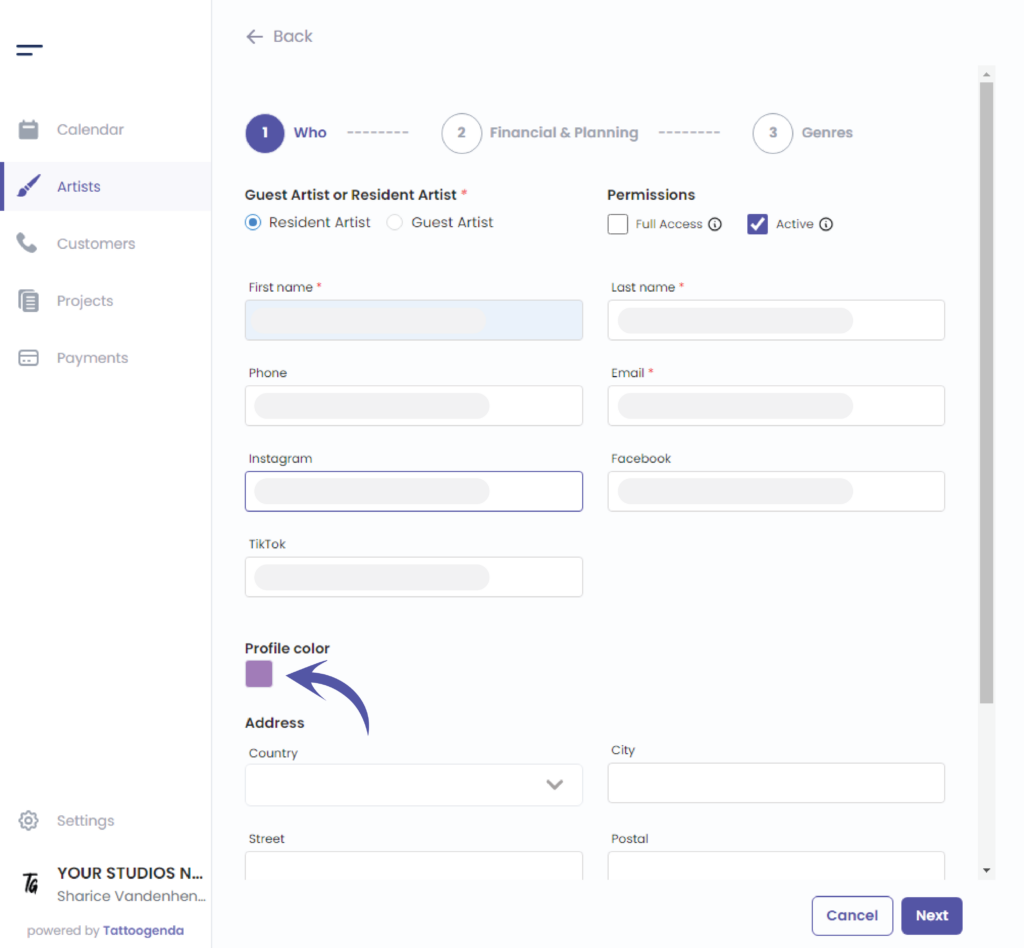
Fill out the information you have about an artist
TIP
Choosing a color will make it easier to distinguish your artist into the calendar
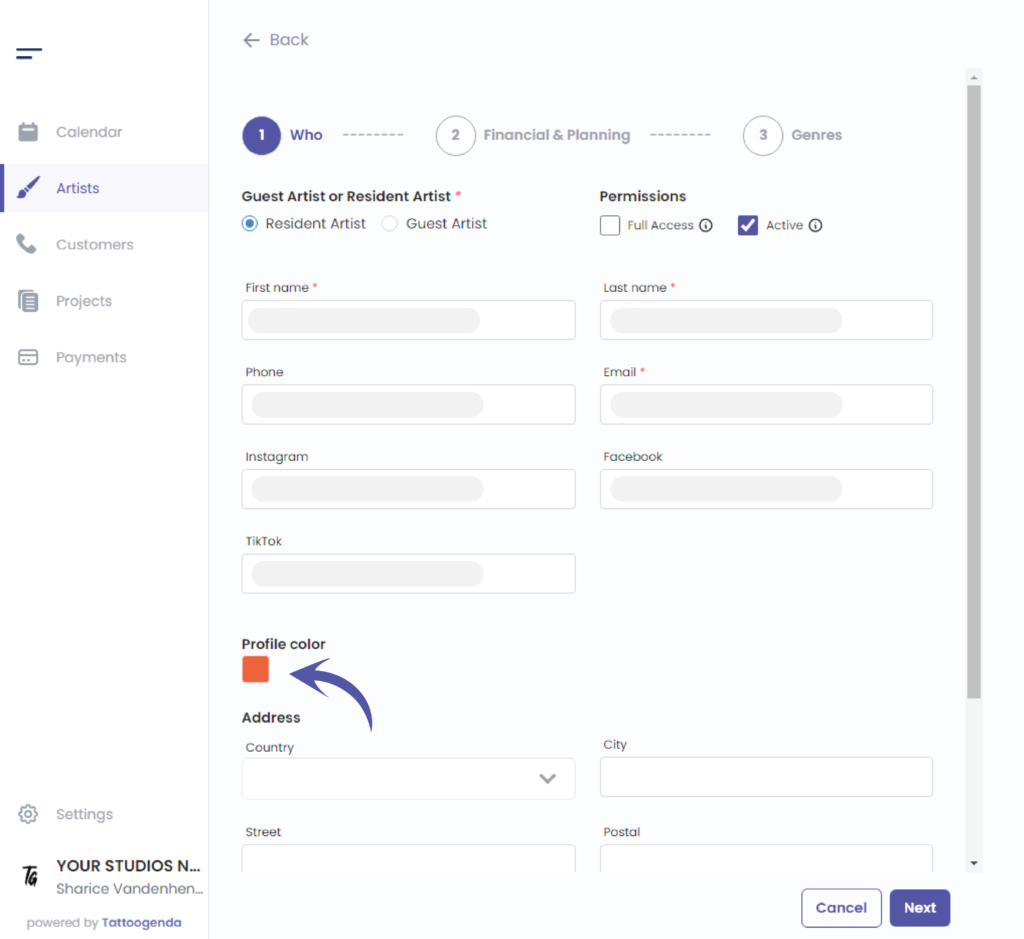
You can choose your color in two different ways
By the color picker
By entering a Hex code
By entering a RGB code
By entering a HSL code
You can switch possibilities by clicking on the up or down arrow

We’ve put the possibilities for you together in a row view
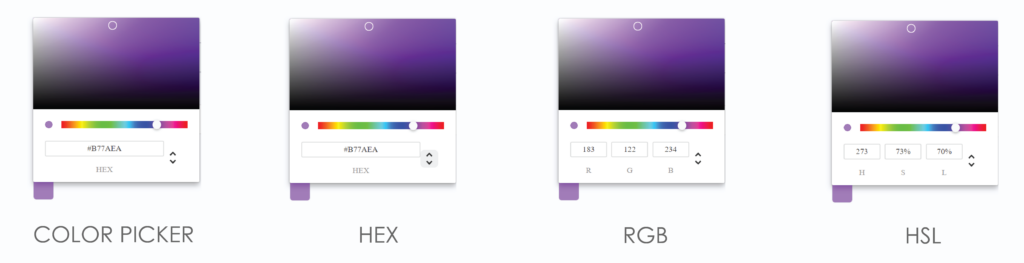
After hitting enter your new chosen color will display and this will be the color of your artist
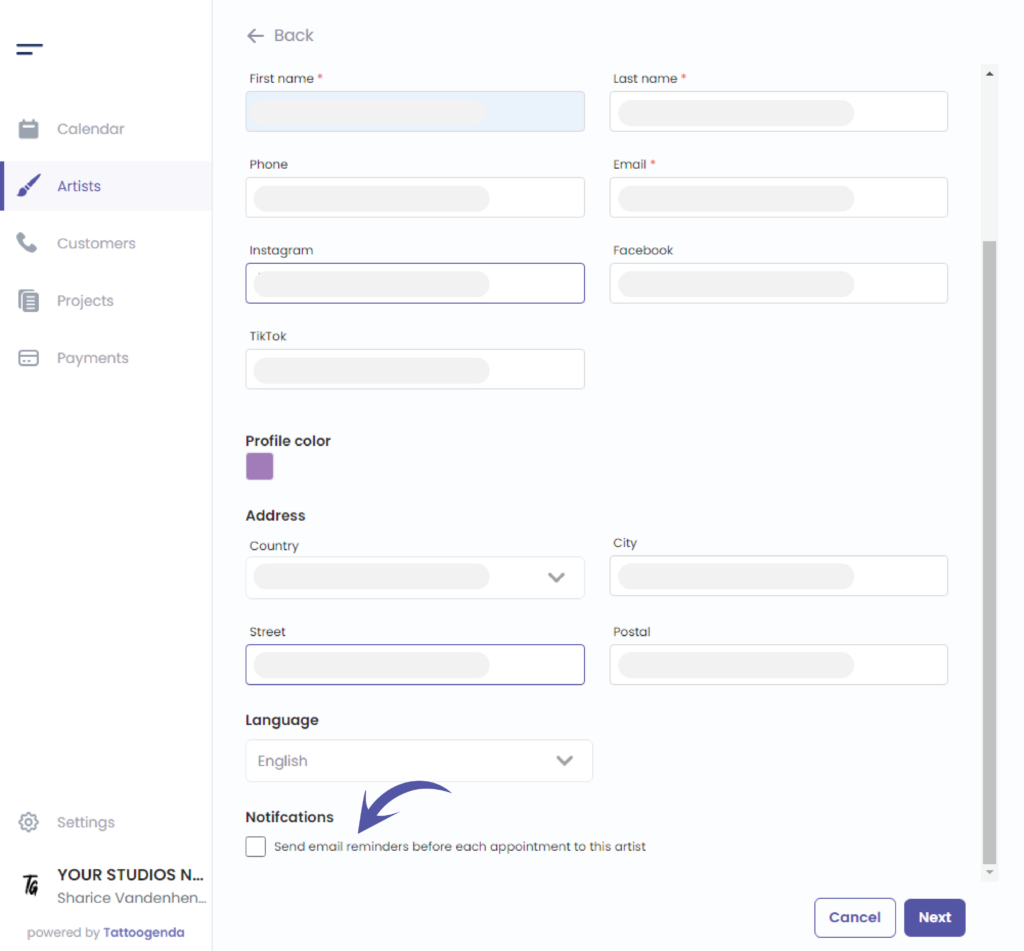
Use the scrollbar to scroll down
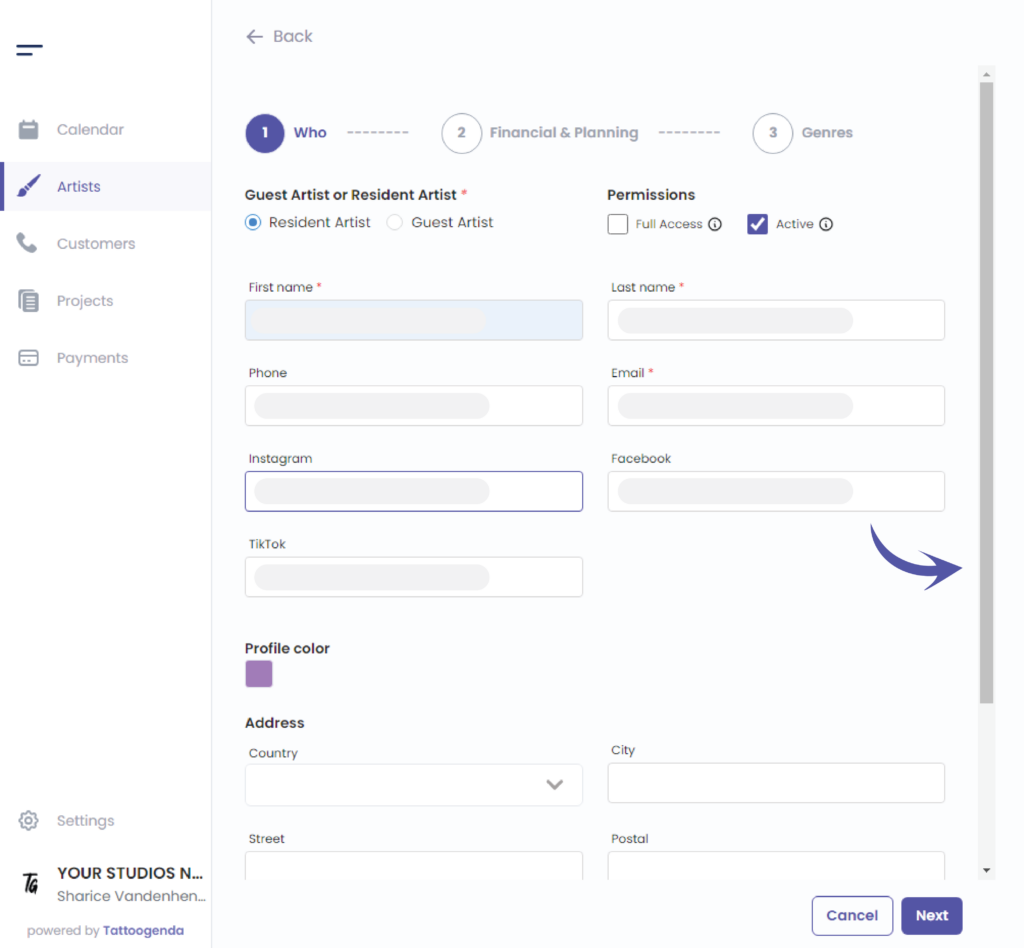
Fill out the rest of the information for your artist and choose the language your artist prefers.
The social media urls are usefull when you send out automated emails with appointment lists to your customers. That automated email can include a link future to the social media of the artist the customer booked with.
Link to personalize emails
Check the notifications checkbox if this artist would like to receive a reminder for every appointment
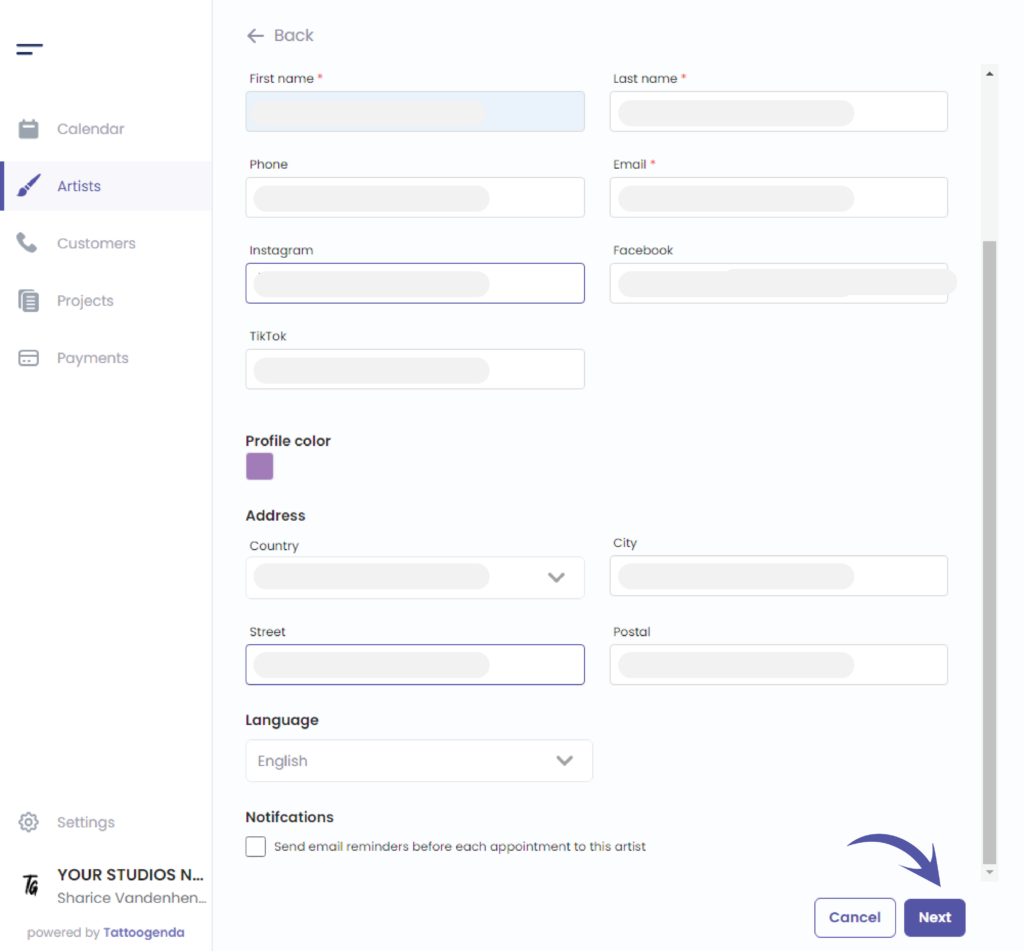
Click Next
Financial & Planning tab #
We have now completed step one called ‘Who’
Please note that ‘Financial & Planning’ is available starting from the ‘Bigger studio’ plan.
If you have ‘Single artist’ or ‘Small studio’ plan, this tab will be called just ‘Planning’.
These options under subtitle ‘Salary Details’ will not be available for you if you do not have ‘Bigger Studio’ or higher.
If you do not own this plan you can skip salary details.
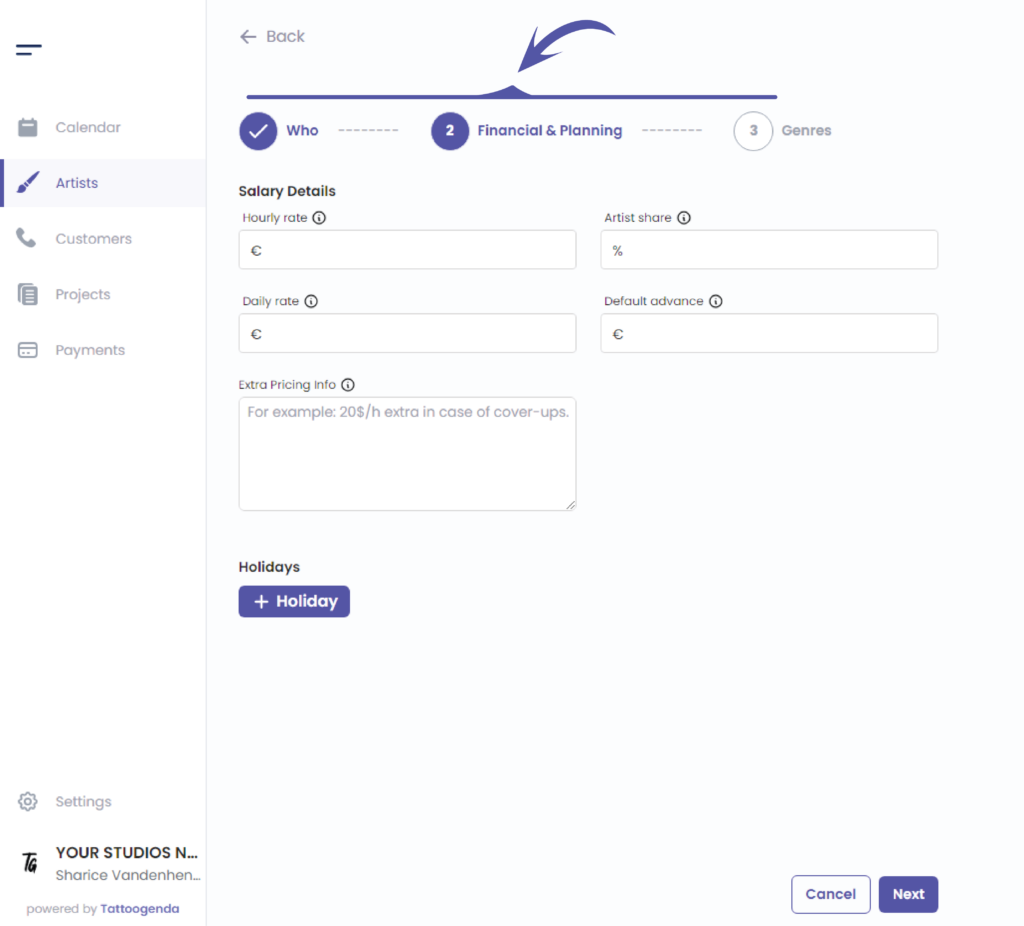
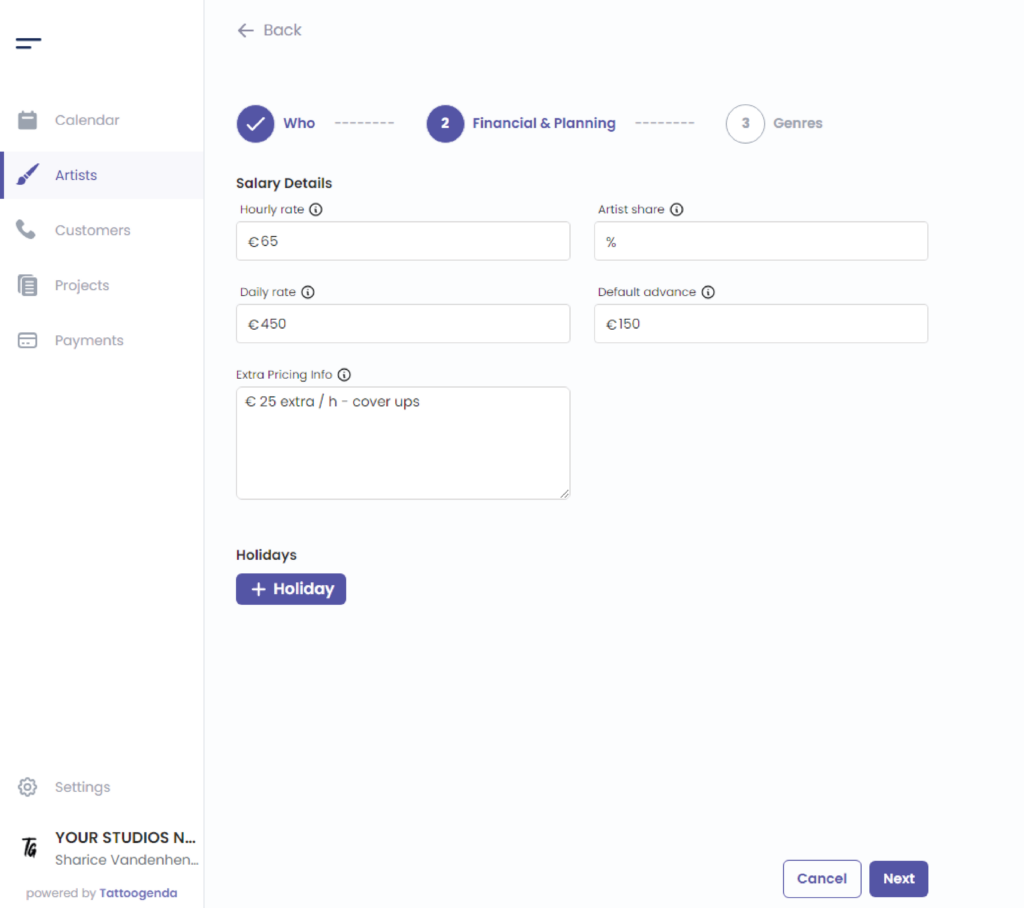
Fill out the salary details of your artist
Hourly rate , Daily rate: filling out these rates can help your receptionist or artist to remind them of this artist price information
( e.g. €65 / h – € 450 / day) when booking in. An artist can have both an hourly rate and a daily rate. Or just 1.
Artist share how much % does your artist earn? The percent your studio pays to the artist.
Default advance this will be prefilled in the ‘required deposit’ when a project for this artist is made
( e.g. €150 )
Extra pricing info this can be anything
( e.g. €25 extra / h – for coverups )
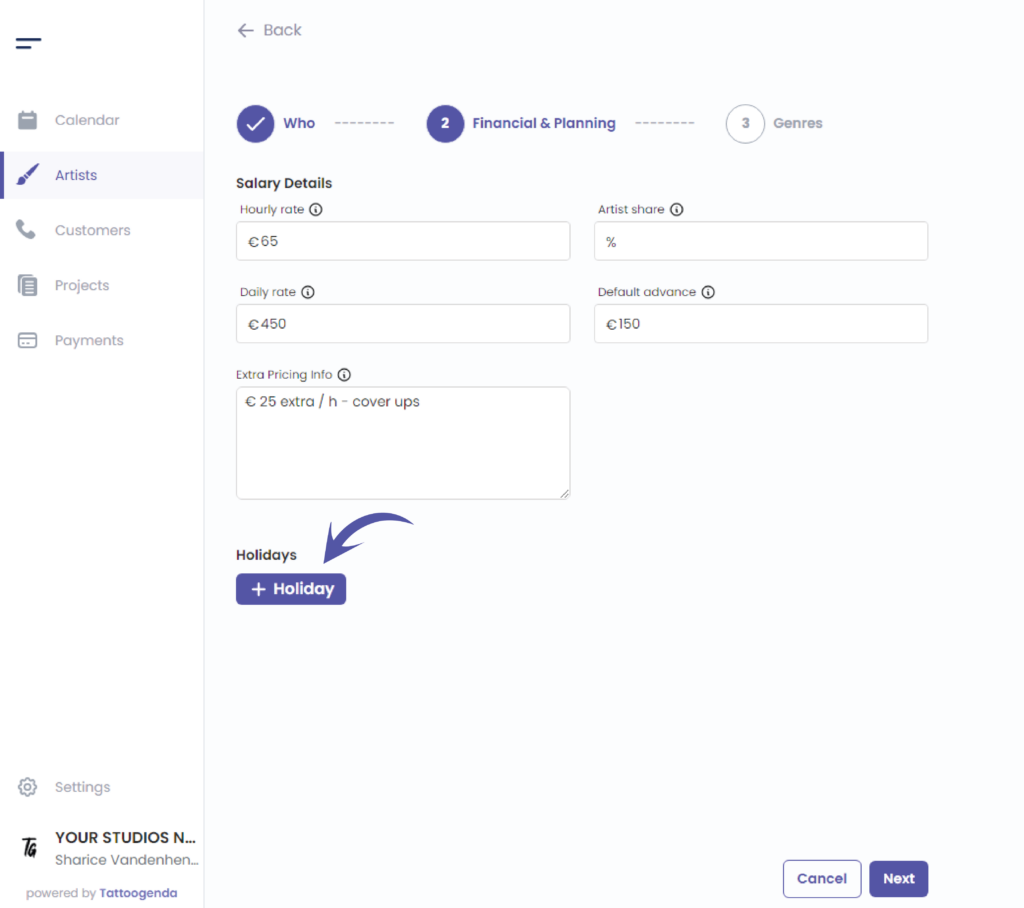
Adding holidays #
If you’d like to add holidays for your resident artist you can do this here.
If you marked your artist as resident artist, you will see this option. If you marked your artist as a guest artist, you won’t see this option, as guestartists don’t have holidays, they have guest spot periods.
Adding guest spot periods #
If you’d like to add guest spot periods for your guest artist you can do this here if your artist is a guest.
If you marked your artist as guest artist, you will see this option. If you marked your artist as a resident artist, you won’t see this option, as residents don’t have guest spot periods, they have holidays.

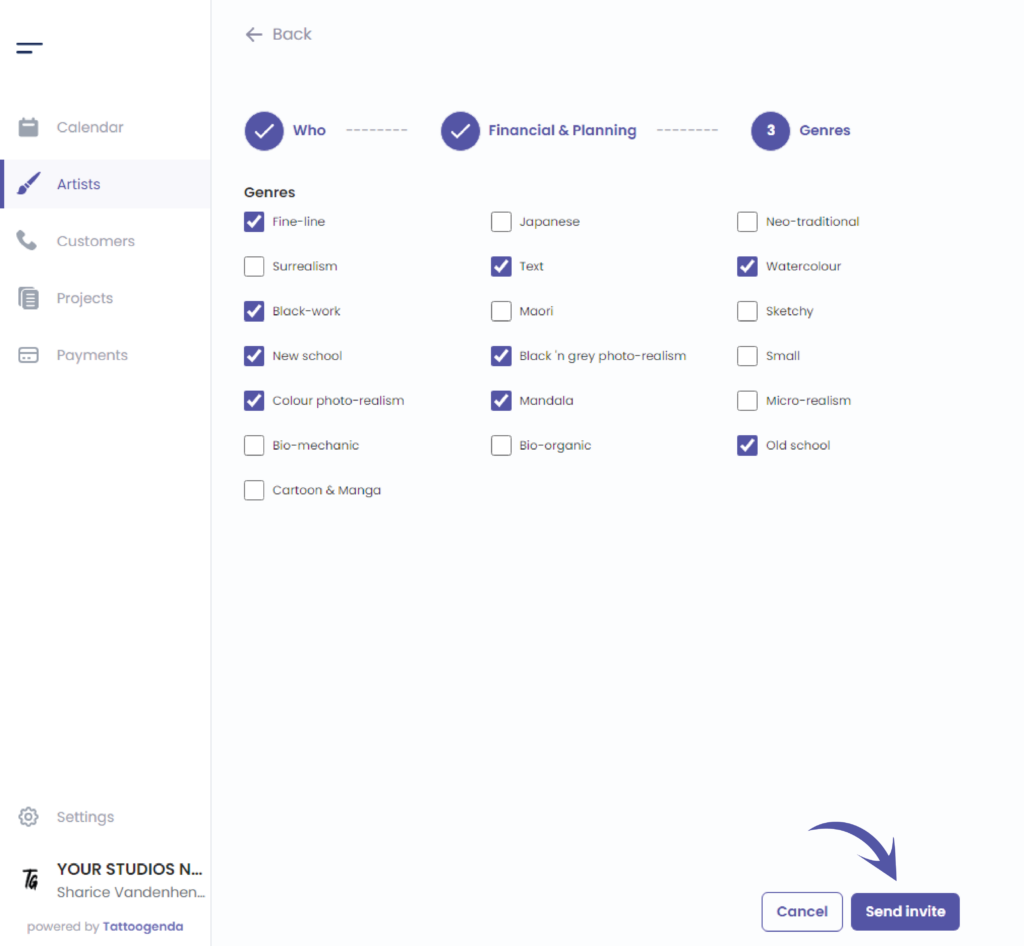
Artist Genres #
Step 3 holds all the styles / genres that your artist has no trouble performing.
The genres of the artist will be used in some of our WordPress plugins. If you don’t have a WordPress site, you shouldn’t be bothered with filling in these genres.
Check which genres are applying to your artist
This is optional, genres are used to display on the calendar, to filter an artist by genre or for our WordPress plugins
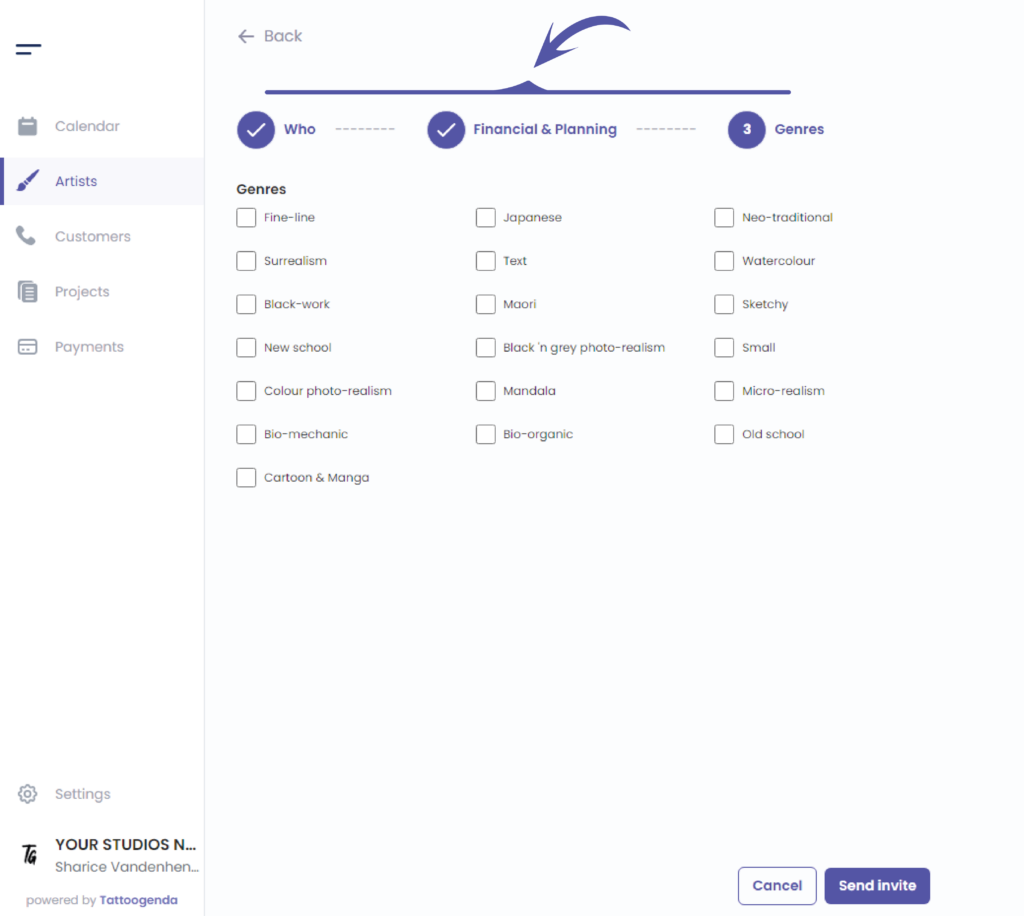
After checking the genres that apply to your artist click on ‘Send invite’.
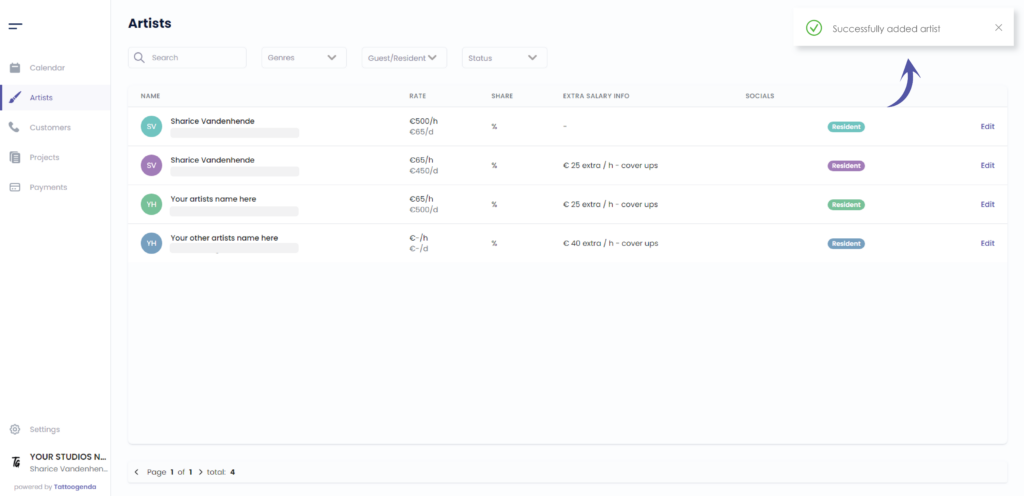
Your artist will receive a mail that they have been invited to your Tattoogenda account as an artist
You will see a notification saying that you have ‘Successfully added an artist’.
You can already start taking bookings for this artist. No need to wait until they accept your invitation.
Going back to the calendar you can see the artist genres in the artist list
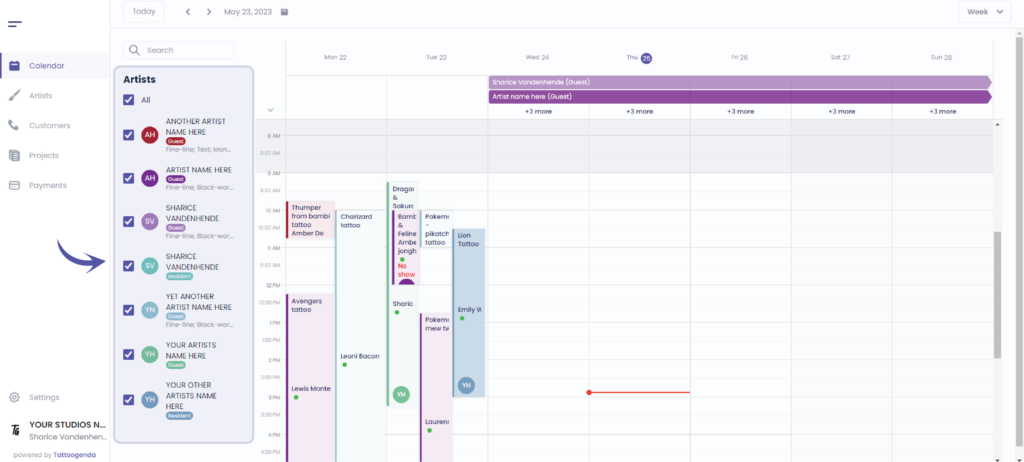
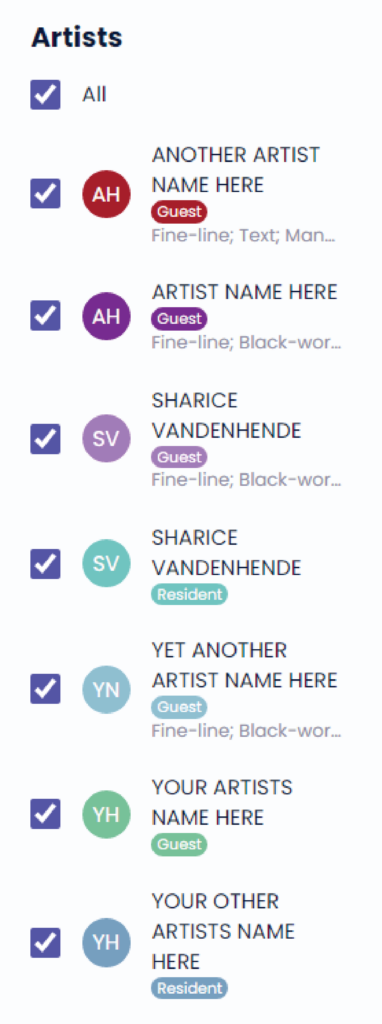
You can see genres here

Hover over the genres text to see a information box with the genres

You still have a problem or a question?
You can find a little link below called ‘Still stuck? How can we help!’
Written by
Sharice Vandenhende
By Tattoogenda


