

IMPORTANT
YOU REQUIRE THE FOLLOWING SUBSCRIPTION PLAN
Deposits are available starting from the ‘Bigger studio’ plan.
These options will not be available for you when you do not have this plan or higher.
Keep in mind that deposit reminders are only available in the ‘Expert studio’ plan.
WHY SETUP STRIPE WITH TATTOOGENDA
Connecting Stripe with Tattoogenda allows you to ask the deposit for tattoo appointments
in automated emails and let the customer pay digitally.
If you do not have Stripe connected with tattoogenda,
you will not have the ‘confirm appointment’ button into your automated emails.
The emails will still remind your client about the deposit, but they will not be able to pay the deposit online.
Click on the articles below to find out more about automatic emails like:
appointment list, deposit reminders, How to personalize your automated emails and how to setup a Mollie connection.
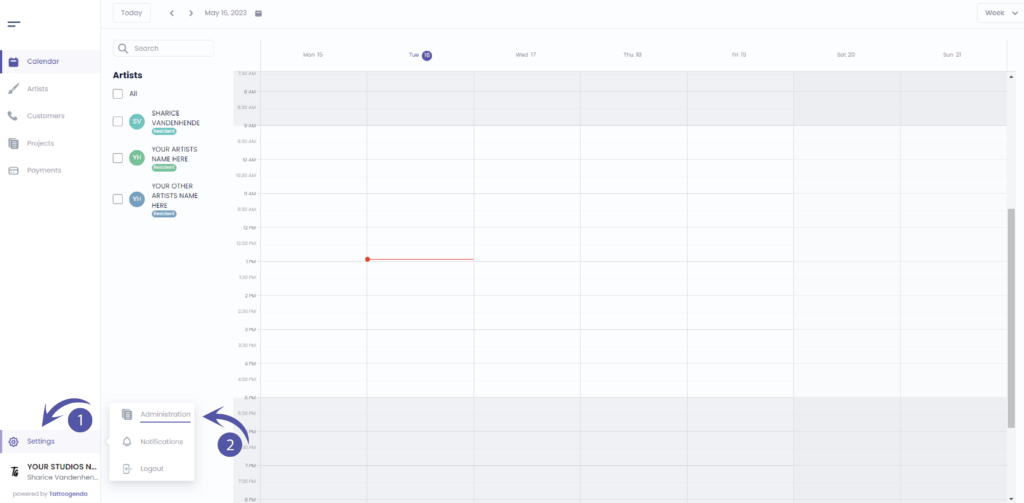
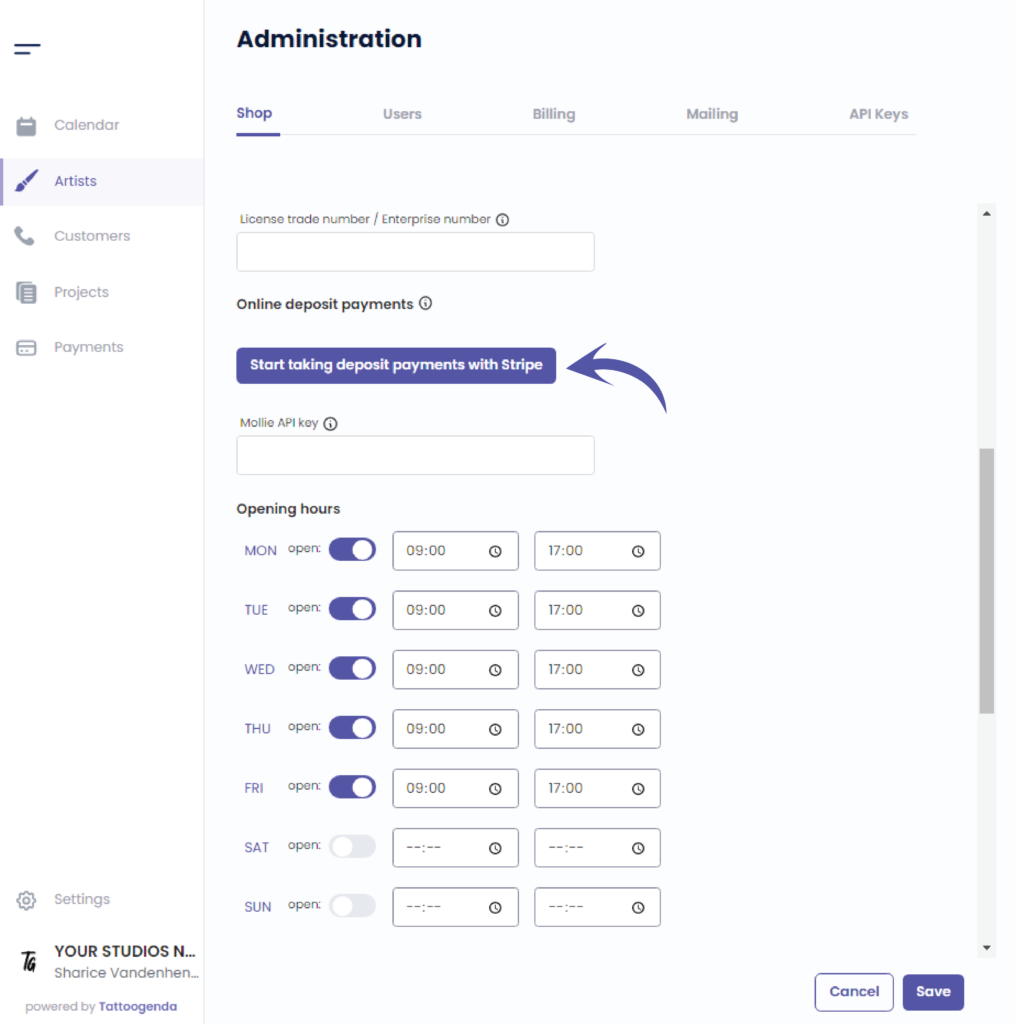
Into your Tattoogenda studio software,
you can find your settings on the bottom left of your screen above your studio name.
Go to your settings and choose ‘Administration’.
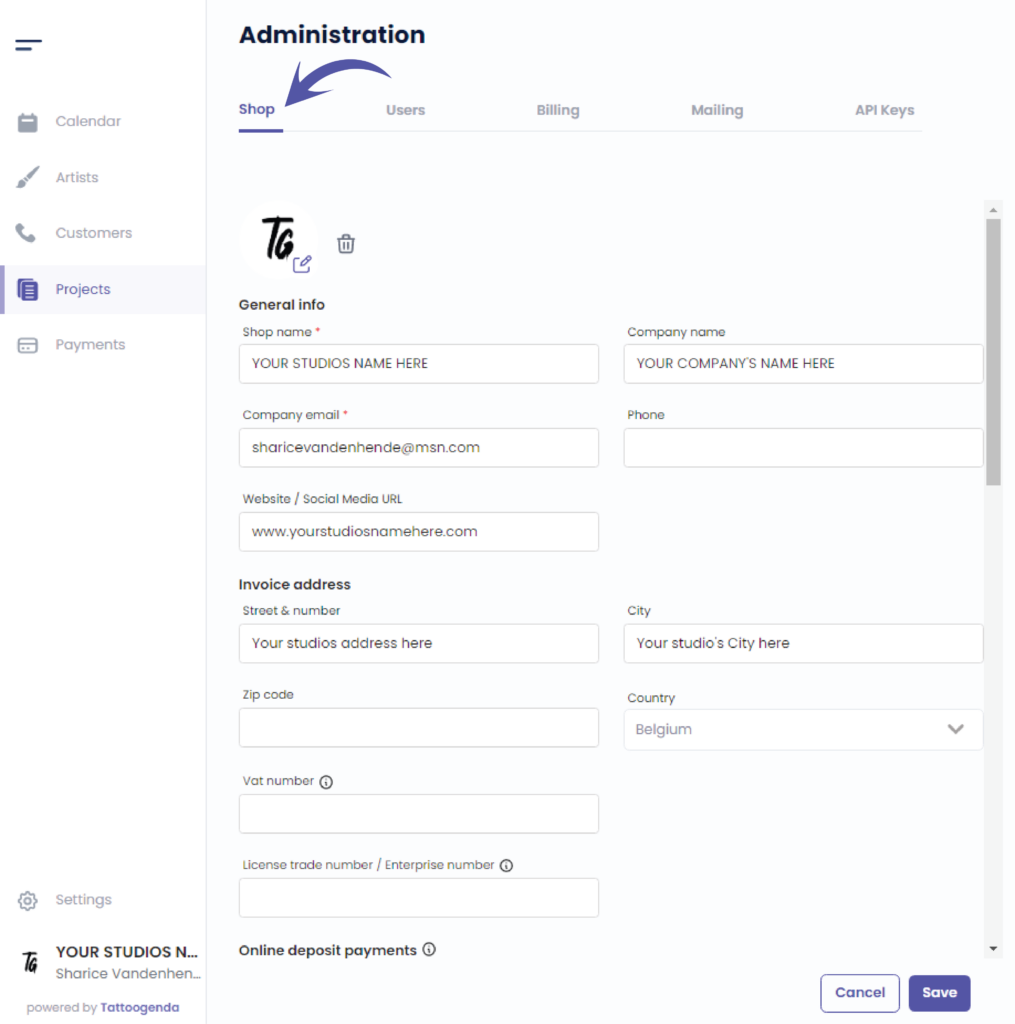
You will automatically be in the ‘Shop’ tab.
You can check that here.
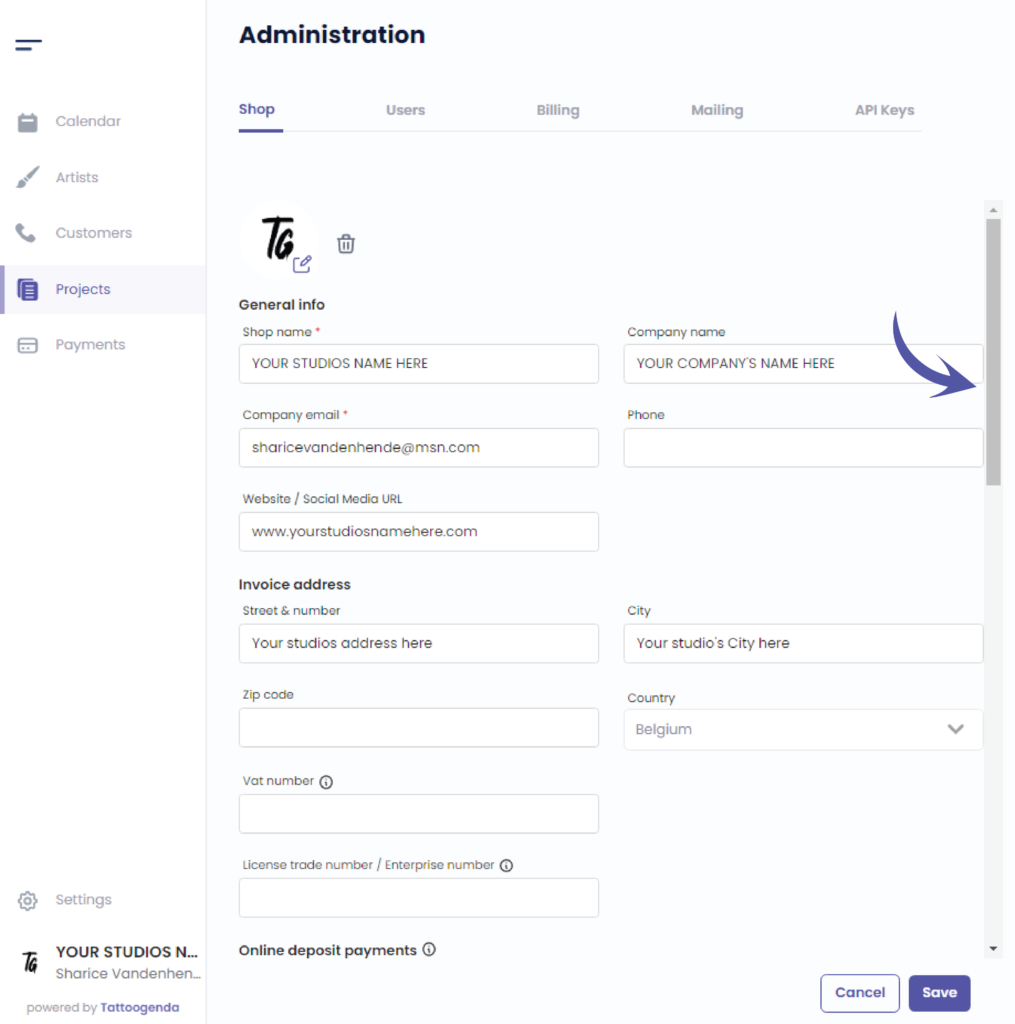
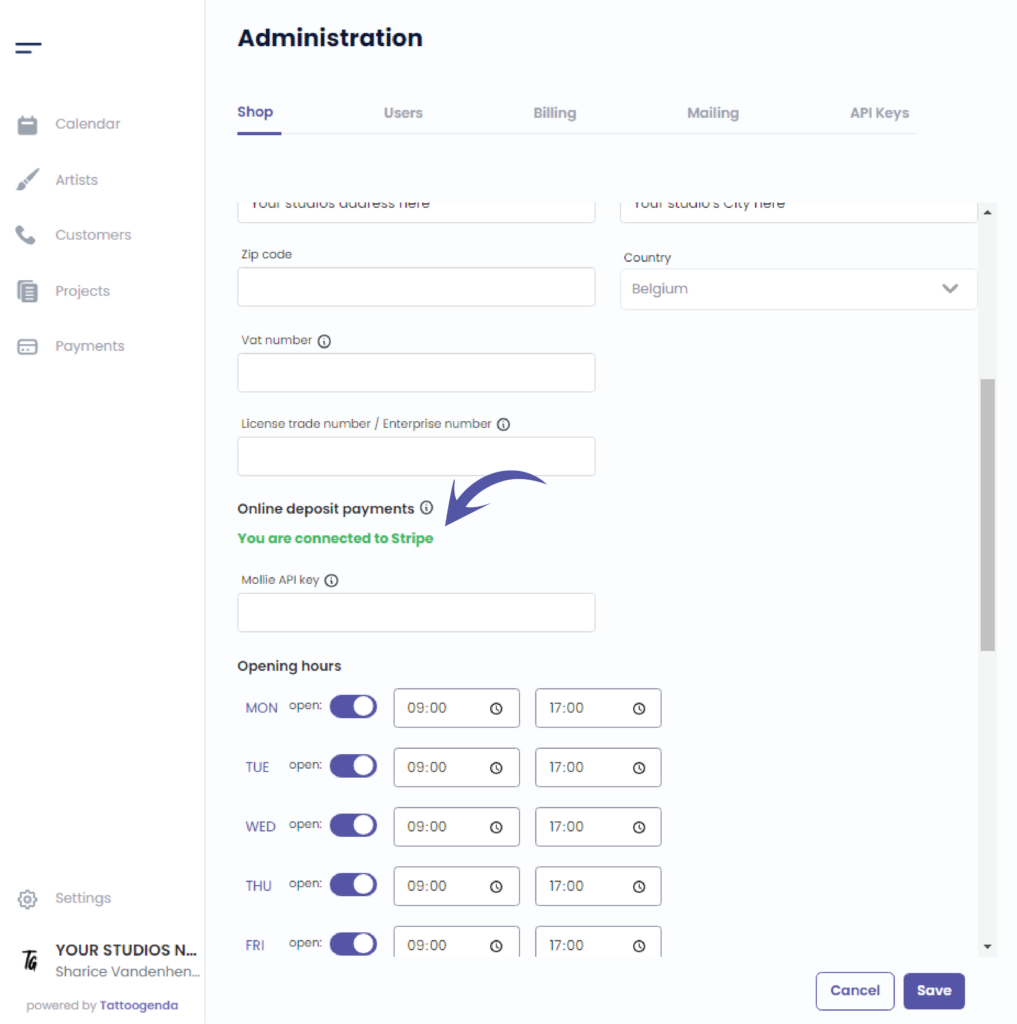
We will use the scrollbar to get to ‘Online deposit payments’.
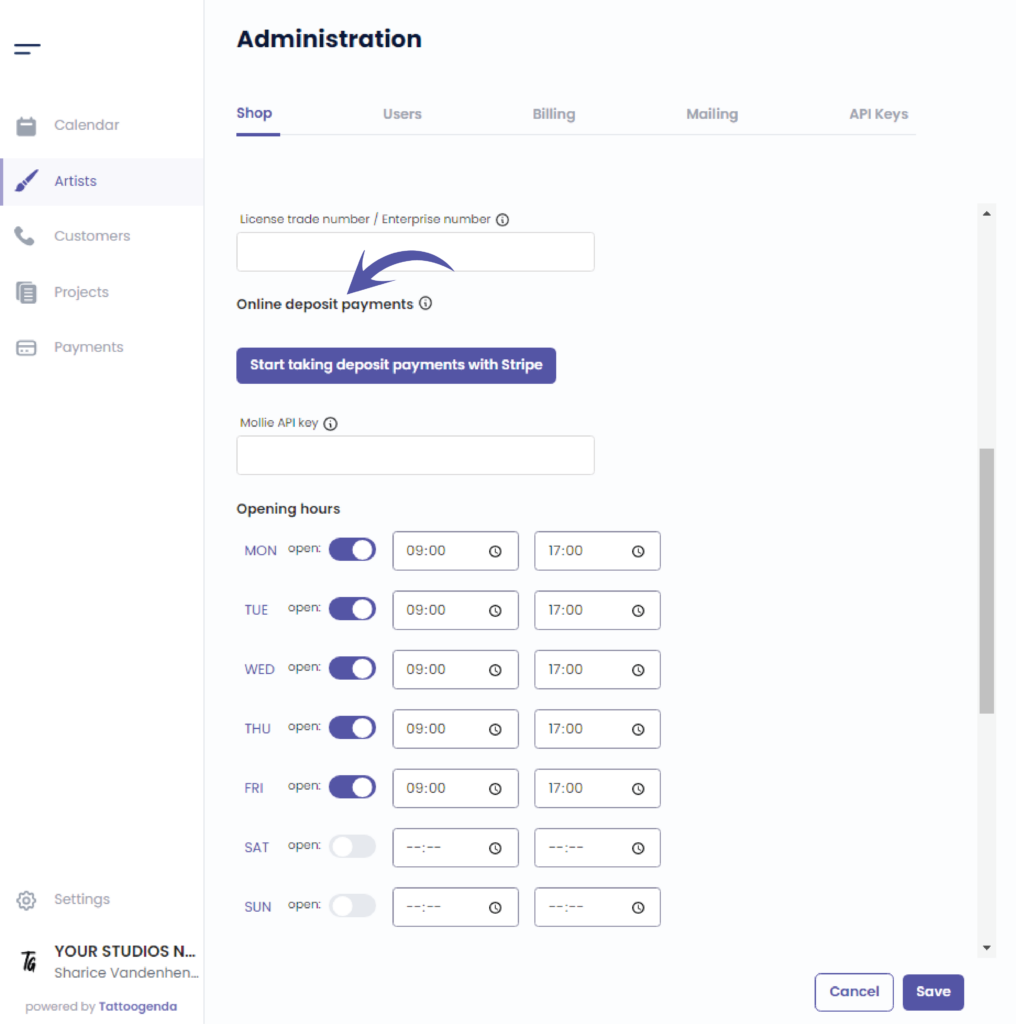
Click on ‘Start taking deposit payments with Stripe’.
This action will take you to a new tab into your browser.
The email you have filled out for your shop will be prefilled here.
Click ‘Continue’.
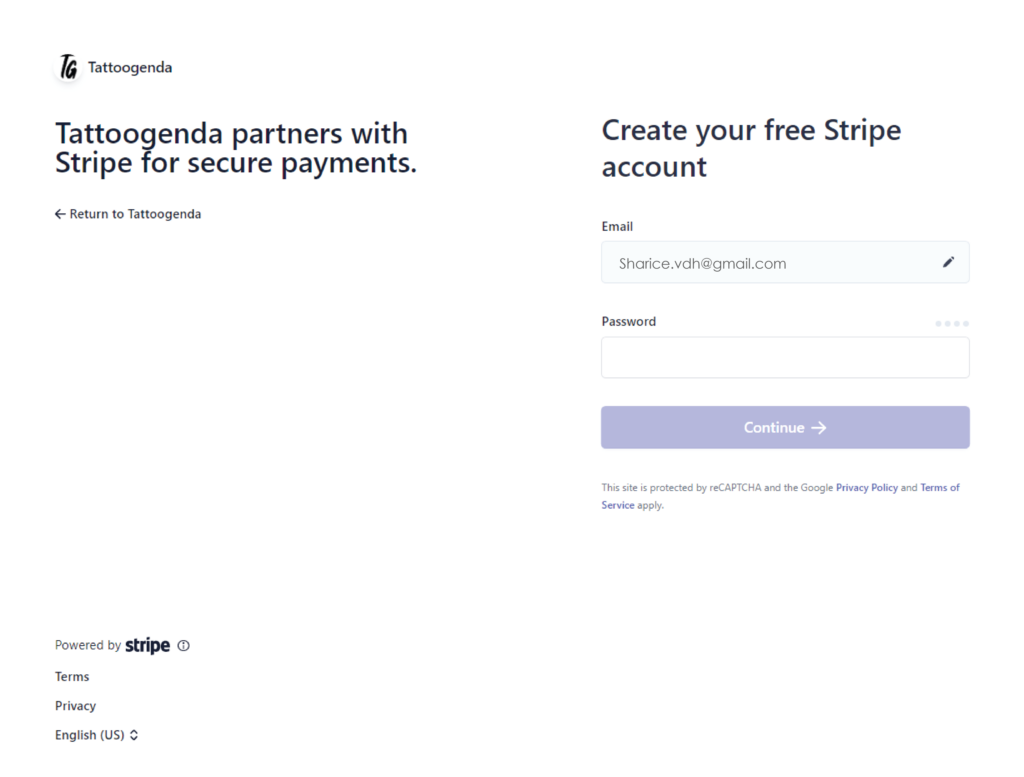
Create your free stripe account.
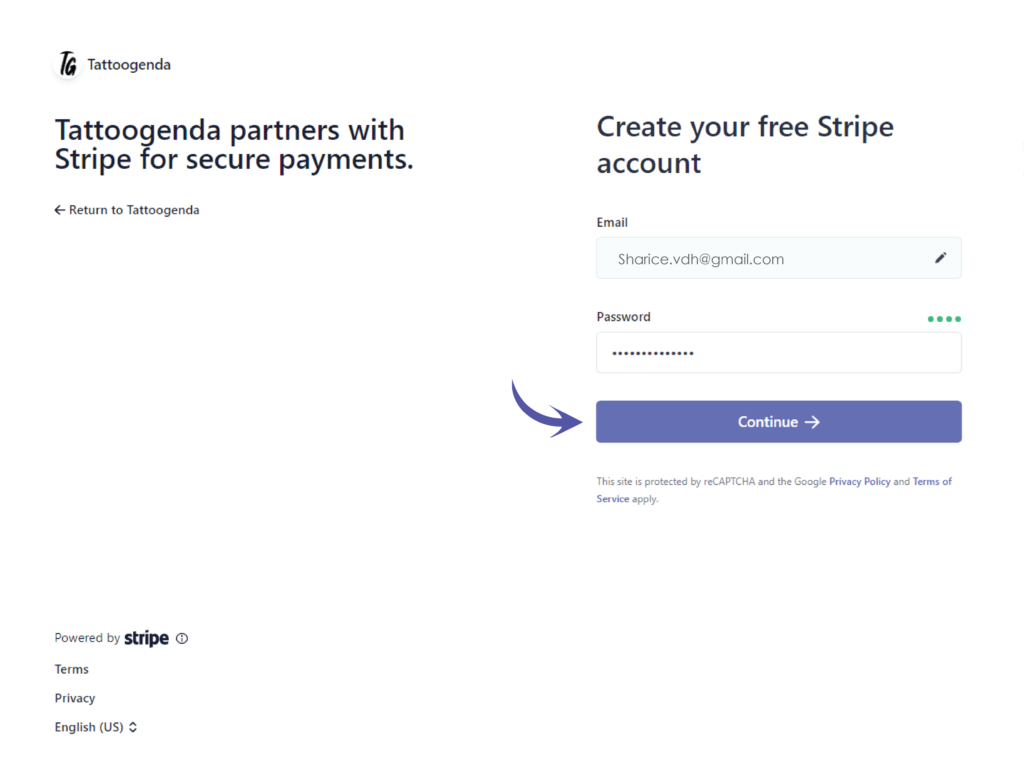
You have to create a new Stripe account to use with TG. If you already have a Stripe account, you can not use the same one.
Enter your chosen password and click on continue.
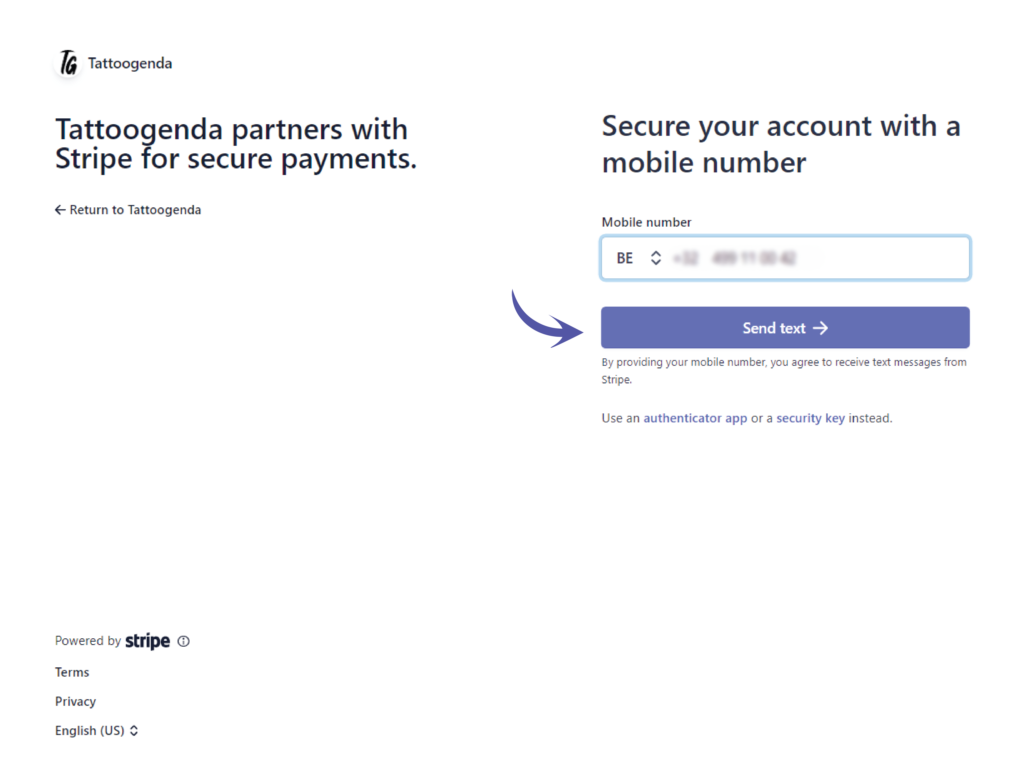
Secure your account with a mobile number.
Enter your mobile number here.
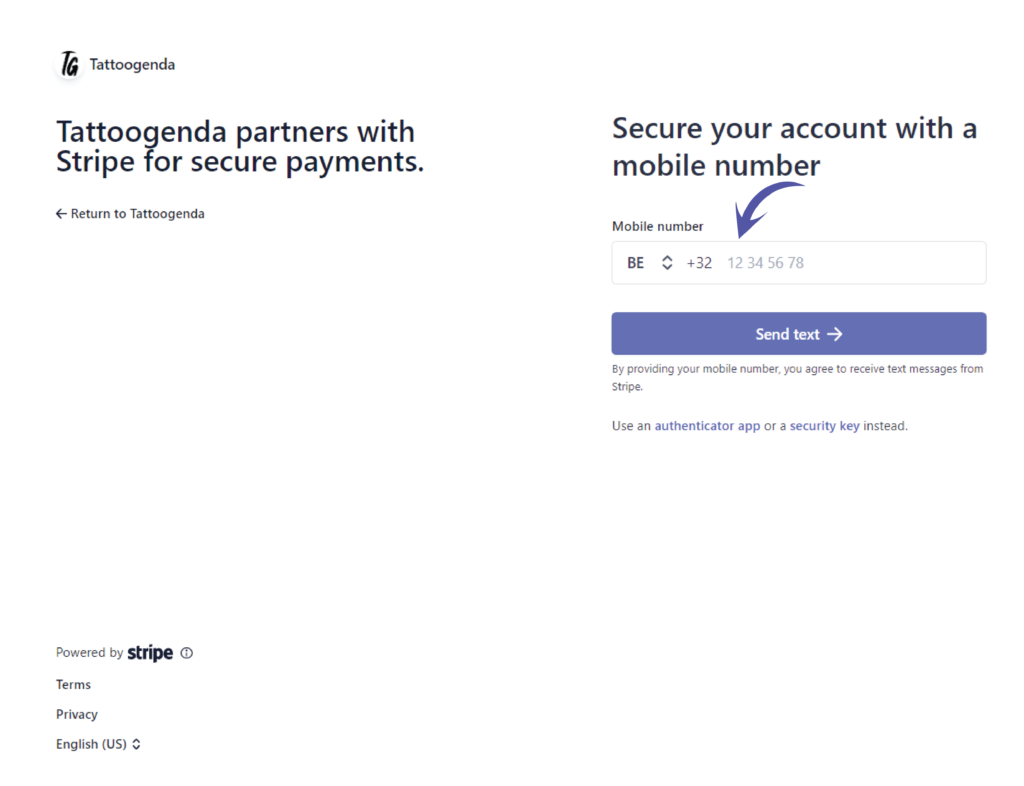
Click on Send text.
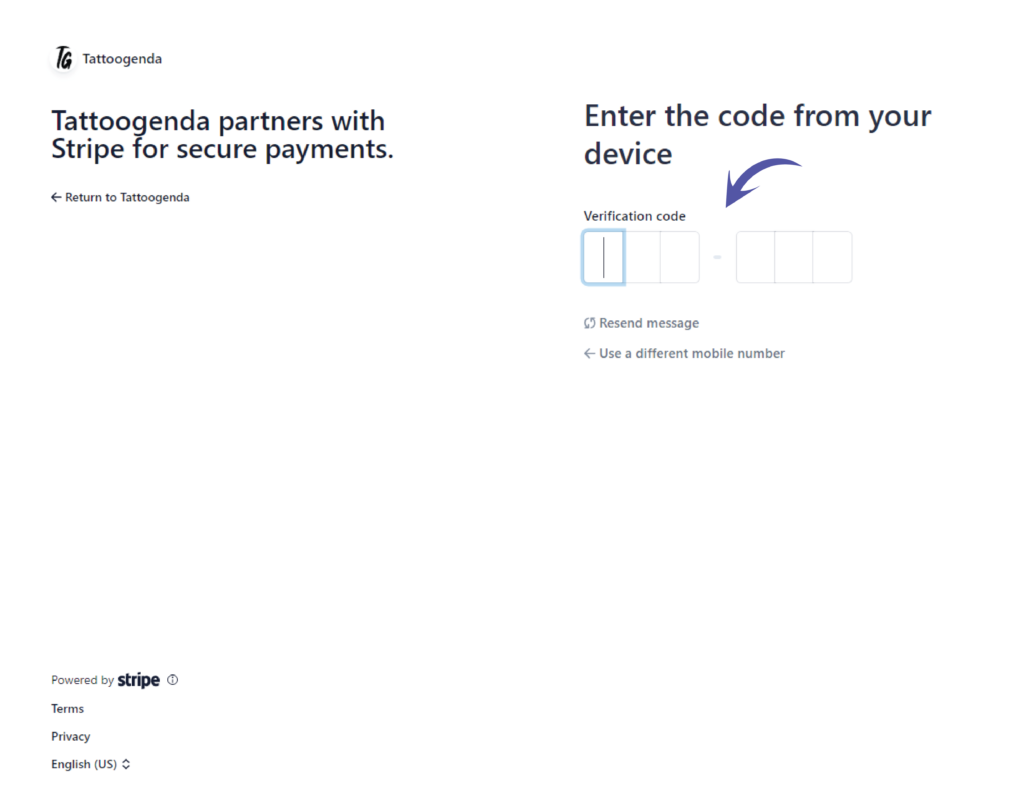
You will automatically receive an SMS on the number you just entered.
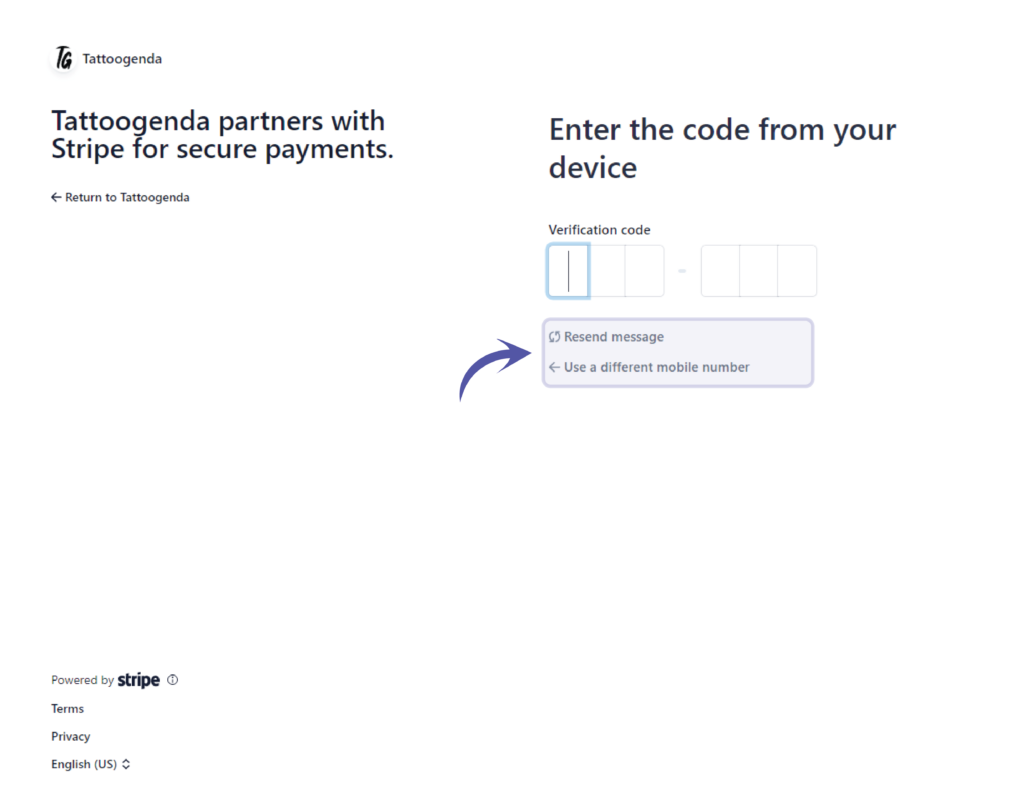
If you did not receive an SMS you can try to resend message OR use a different mobile number.
If the last four digits where correct you should have received an SMS that could look like this on your phone.
Fill out your own SMS code here.
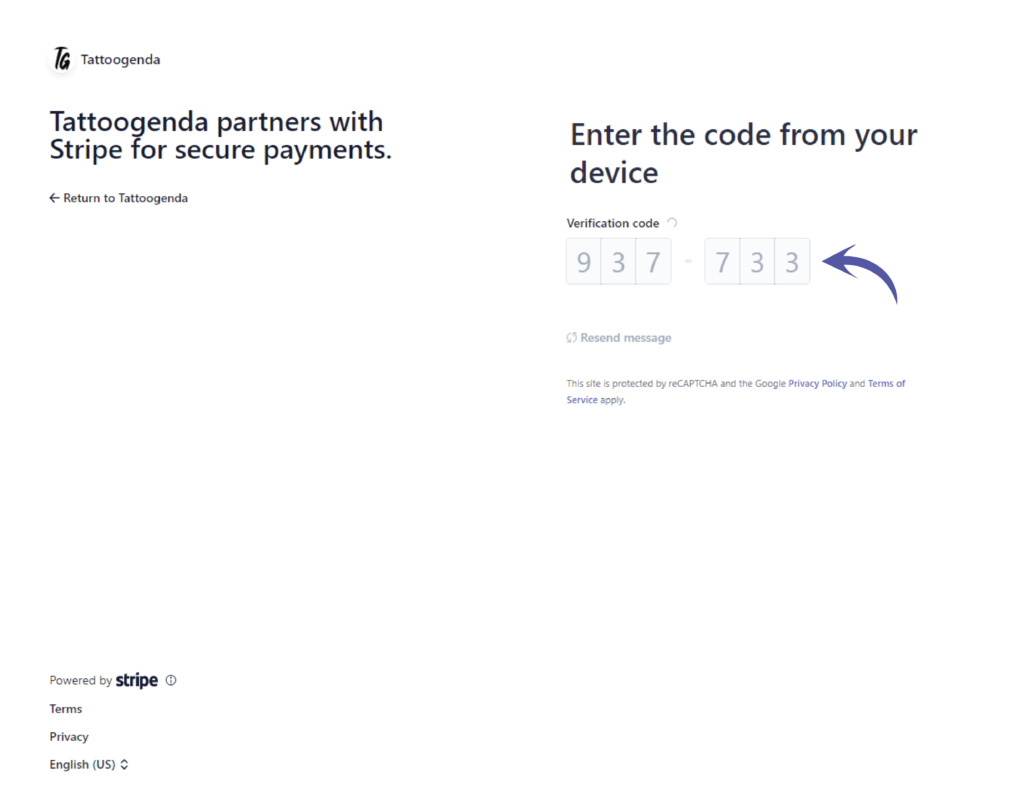
It will automatically start verifying the code you have entered.
Please be patient.
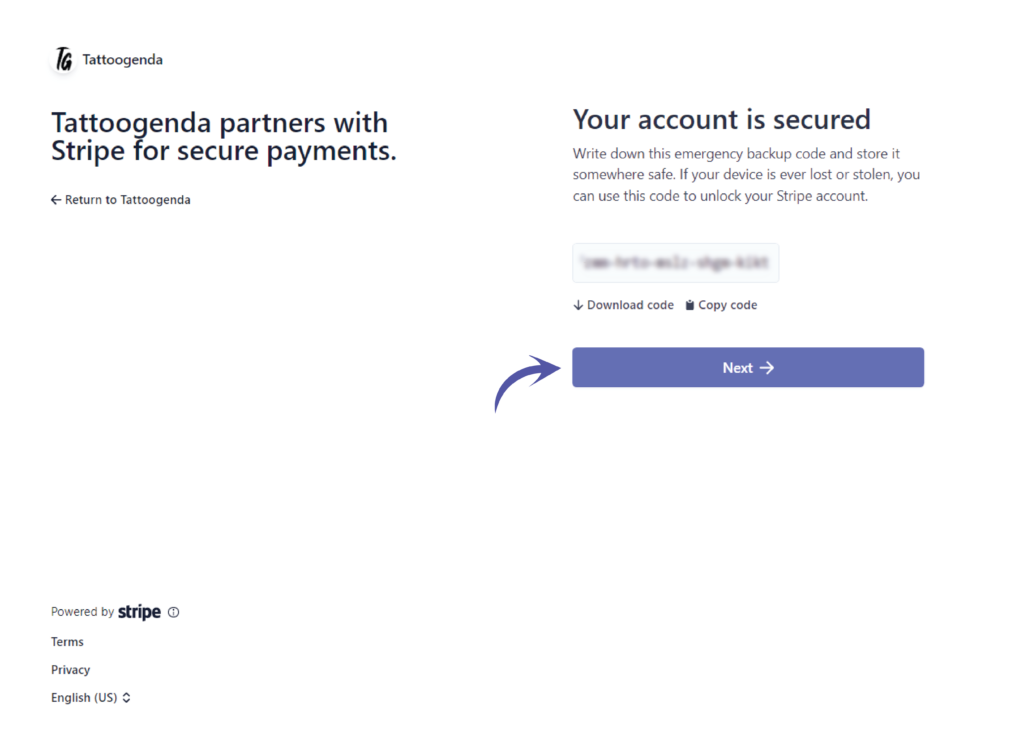
Your account is secure
Store this code carefully, download the code or copy it and put it somewhere safe!
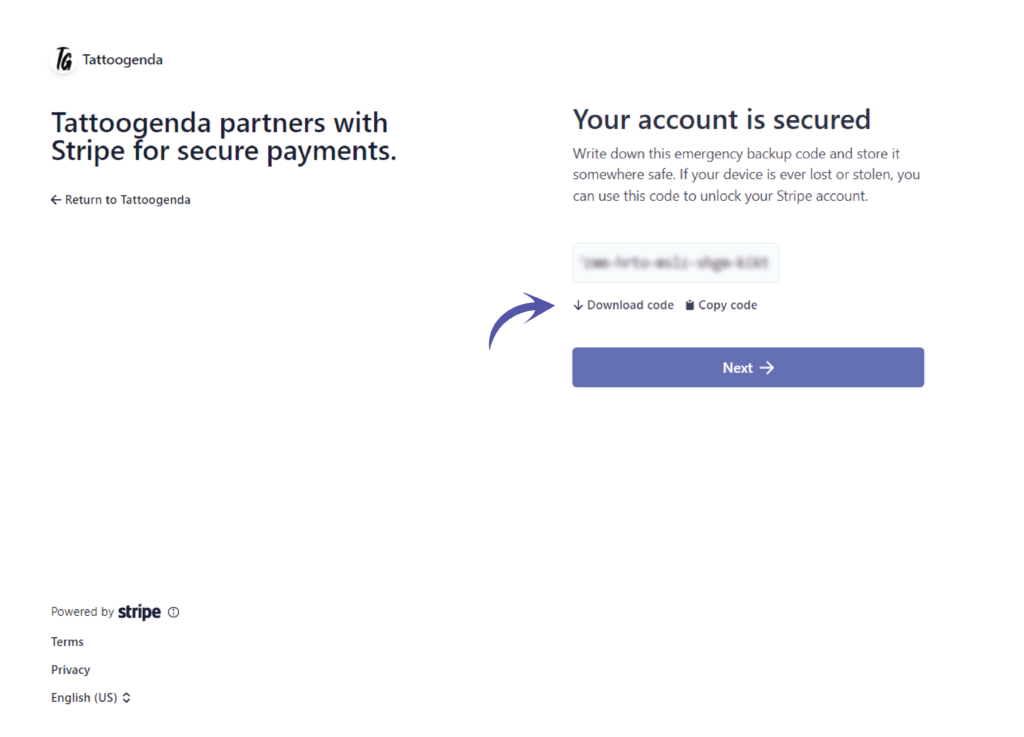
Click ‘Next’.
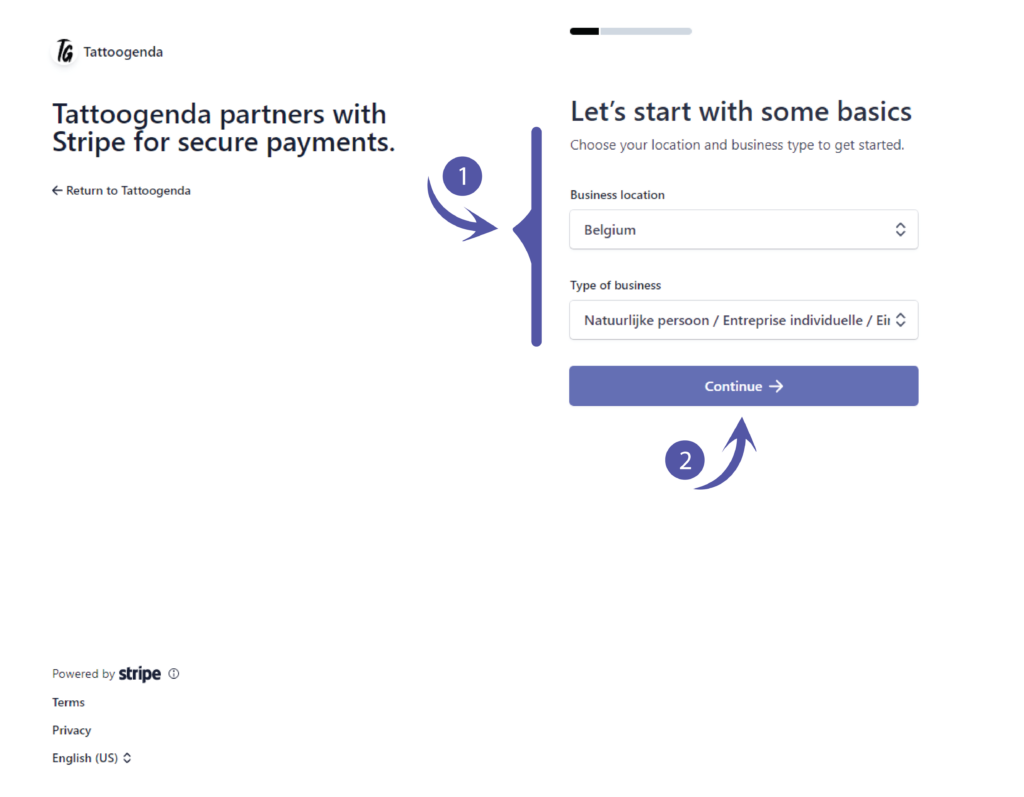
Let’s start with some basics.
Please fill out what applies to you and click continue.
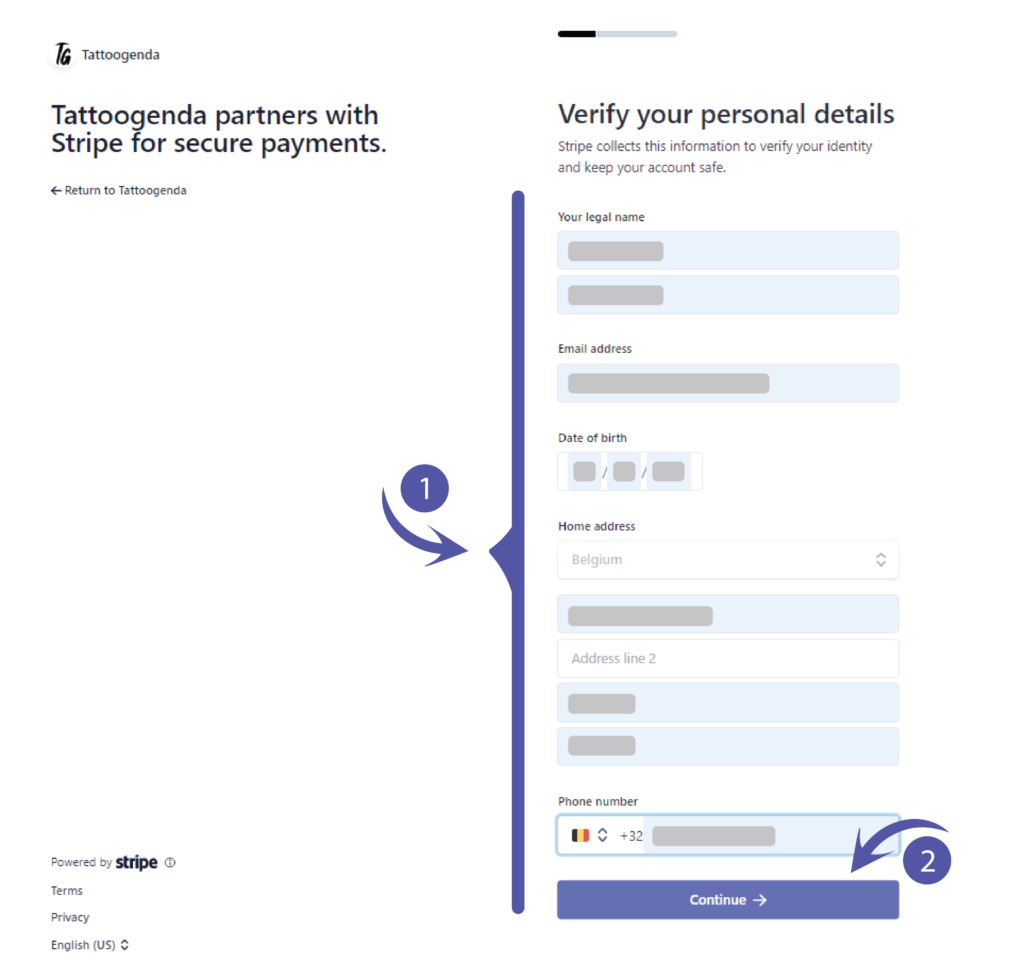
Verify your personal details
You should see the following screen
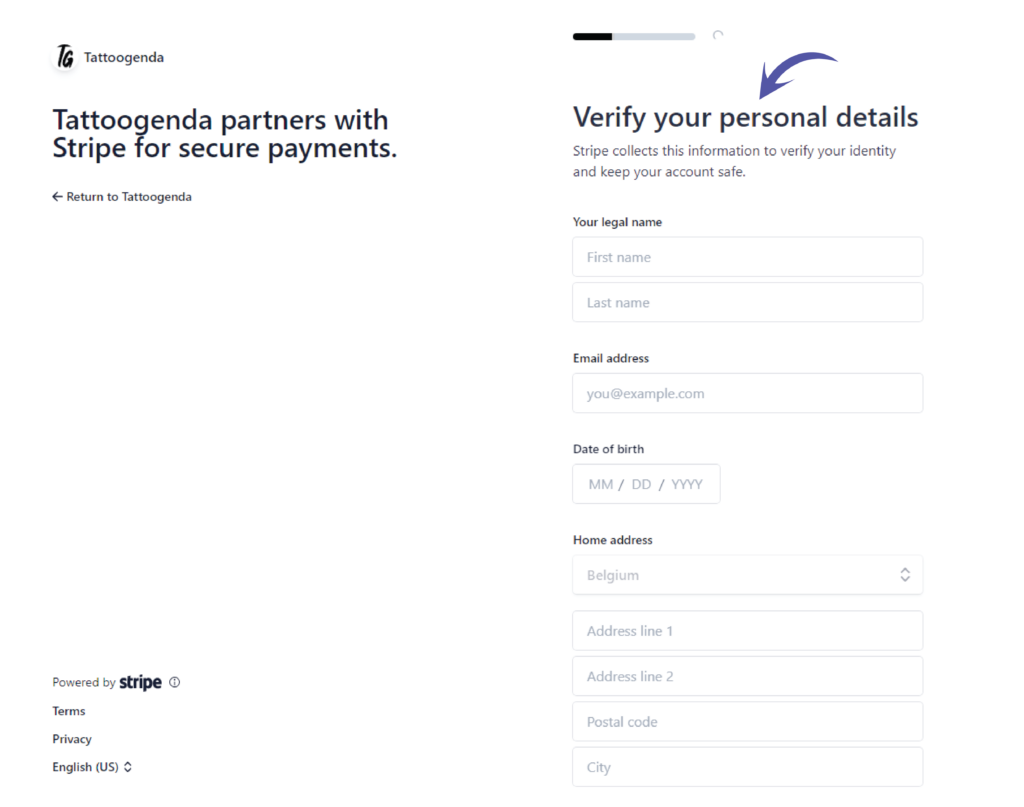
Fill out your credentials and click continue.
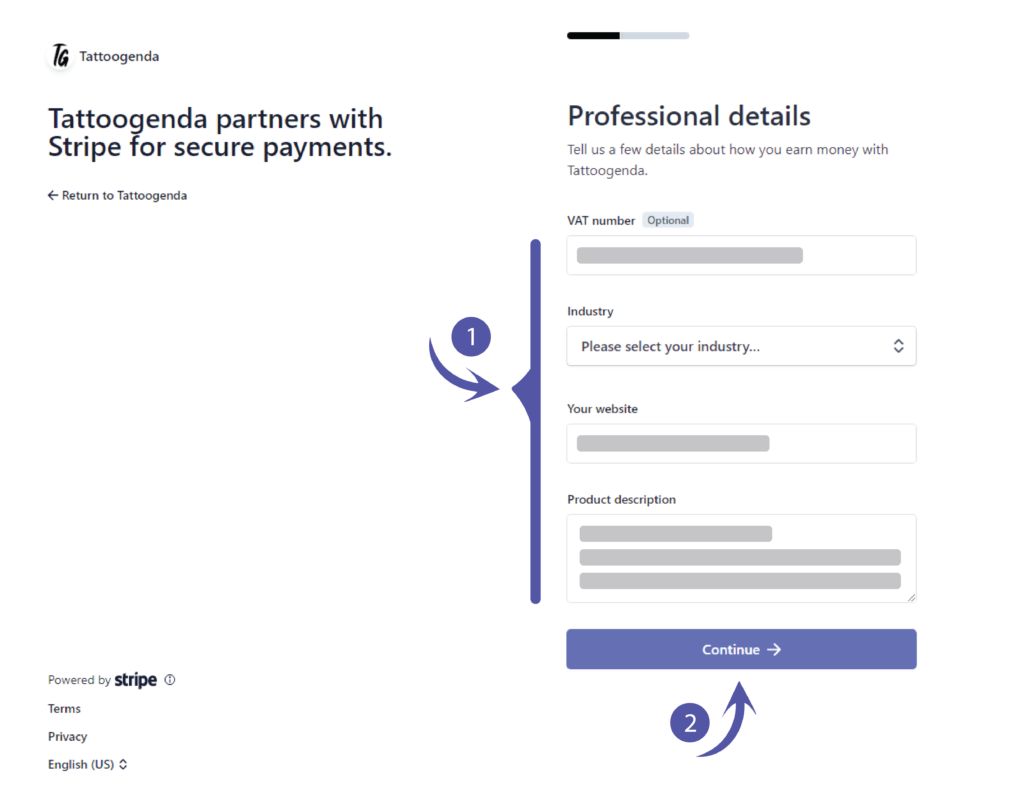
Professional details.
You should see the following screen.
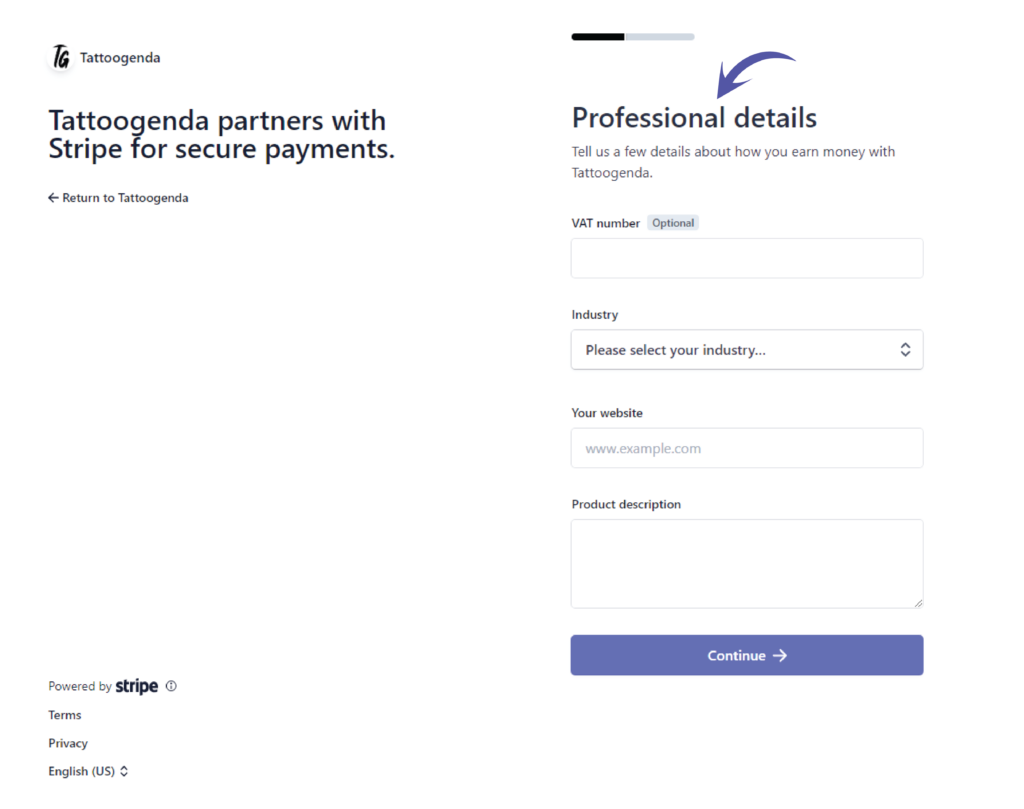
Fill out what applies to you and click continue.
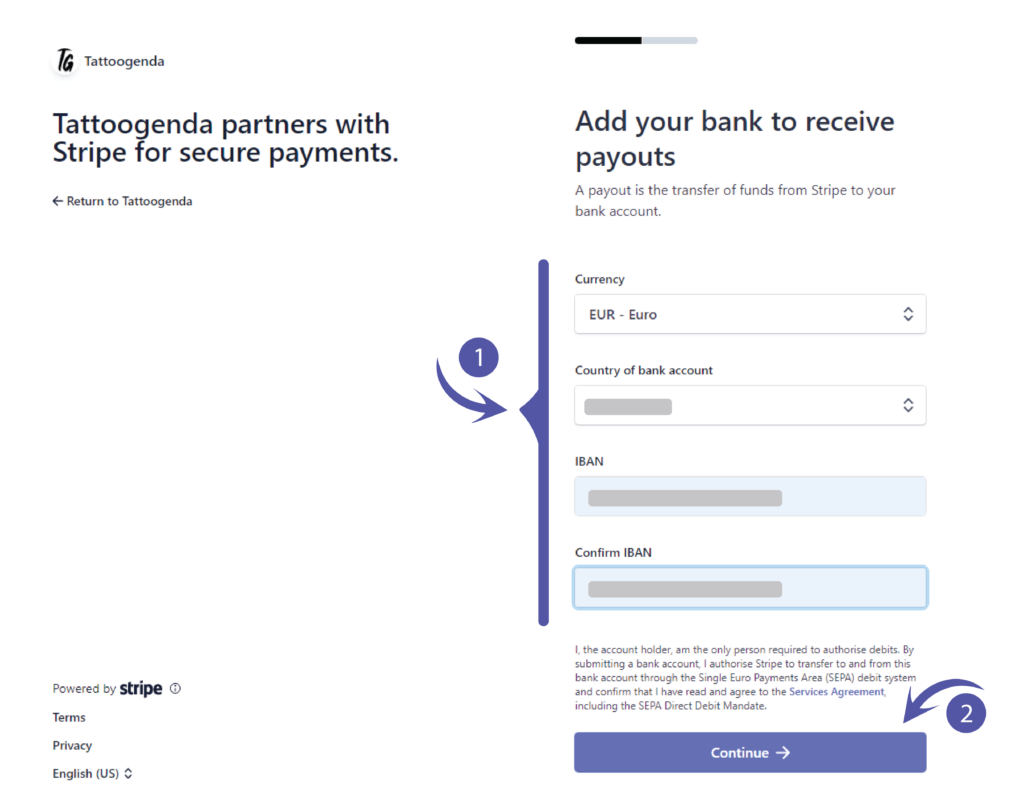
Add your bank to receive payouts.
Please fill out what applies to you and click continue..
Add public details for customers.
The ‘Statement descriptor’ will be automatically filled out if you have entered a website.
However, you can change this into anything you’d like!
This is what your customer will see on their bankaccount when they made a payment to you.
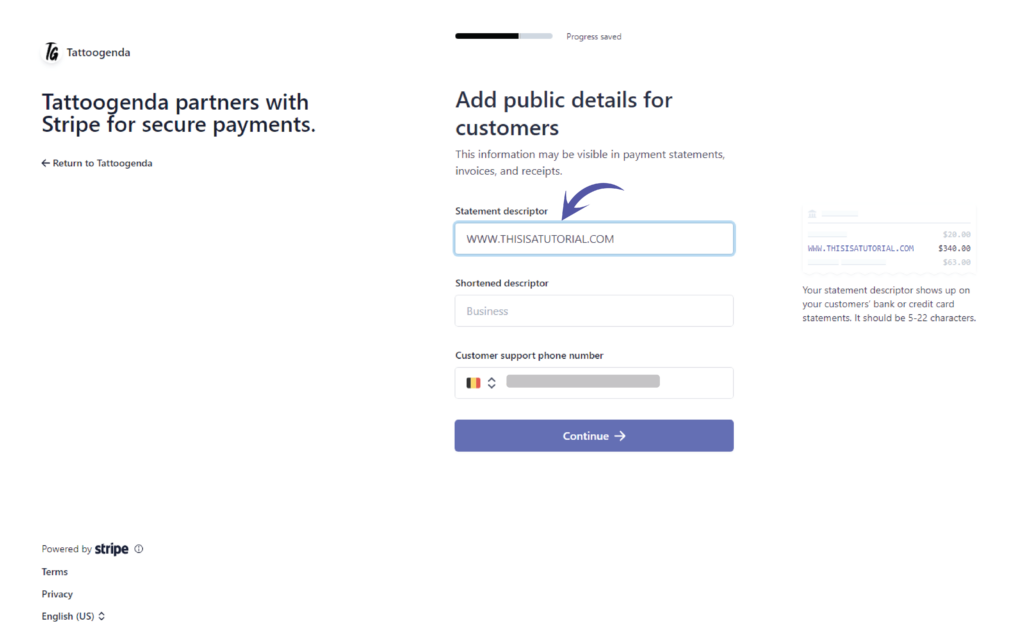
You will get a little preview that shows you how it will look like.
Fill out what applies to your studio.

Do the same with the shortened descriptor.
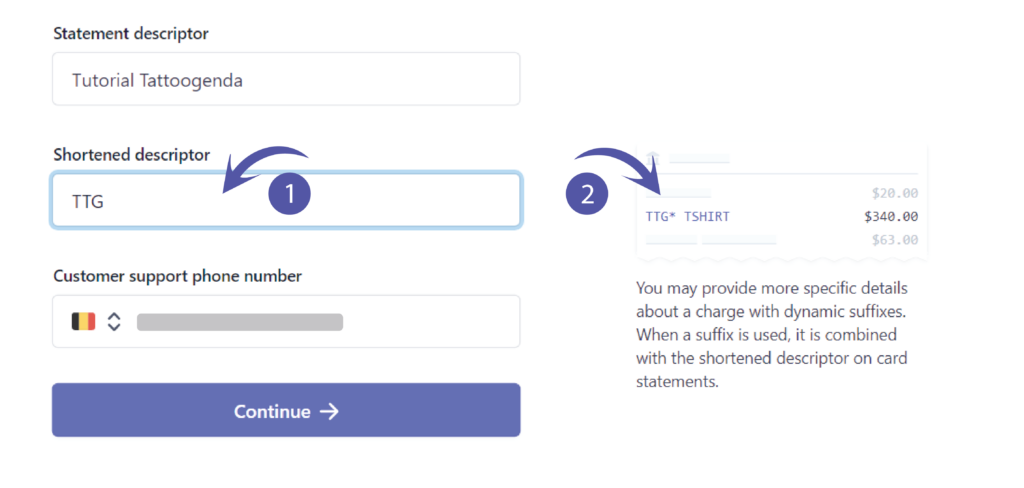
Fill out your support phone number and click continue.

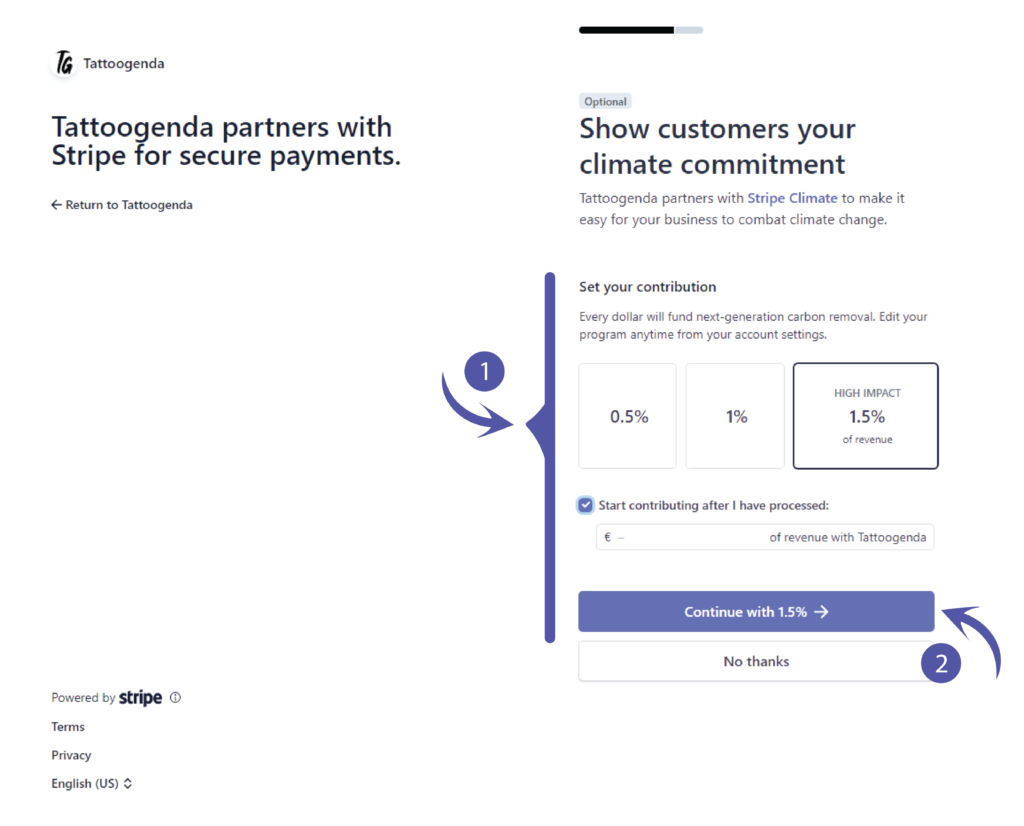
Show customers your climate commitment.
If you do not wish to contribute anything you can choose no thanks.
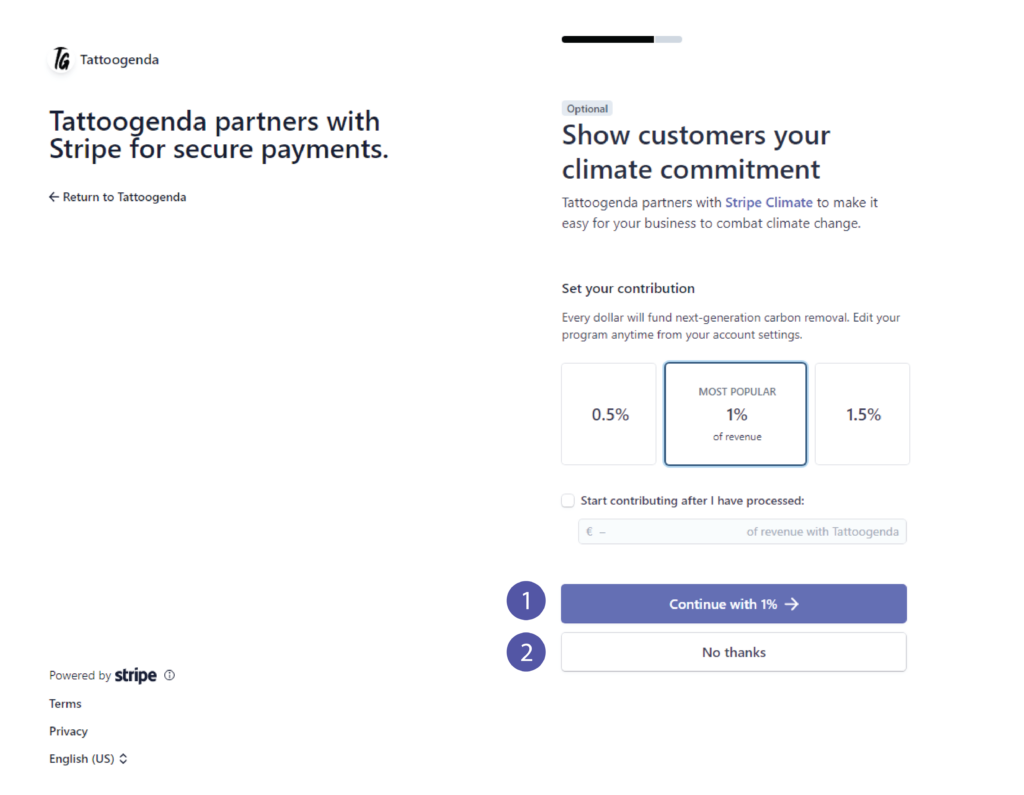
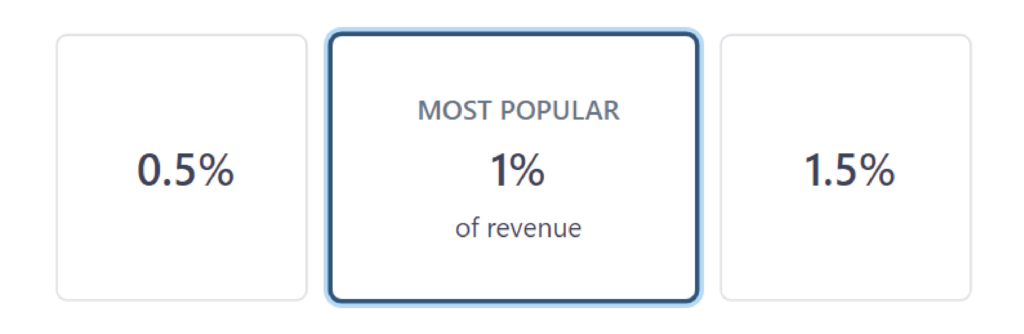
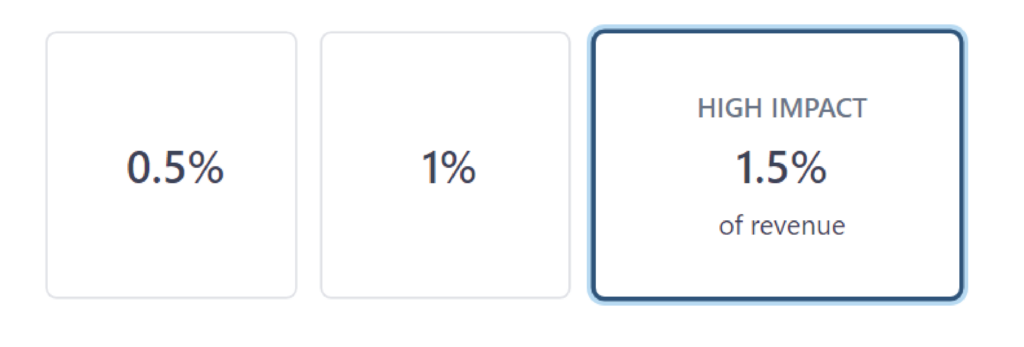
If you chose ‘No thanks’ you can skip this part.
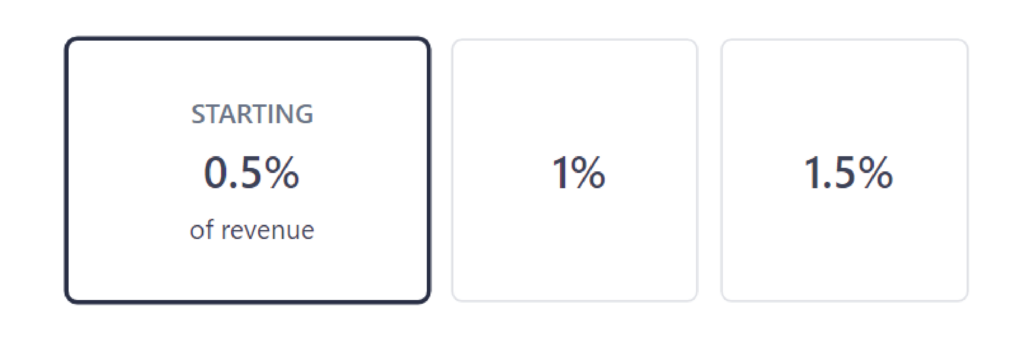
You can choose to contribute after you have processed by checking the checkbox.
Click ‘Continue with (e.g. 1.5% )’.
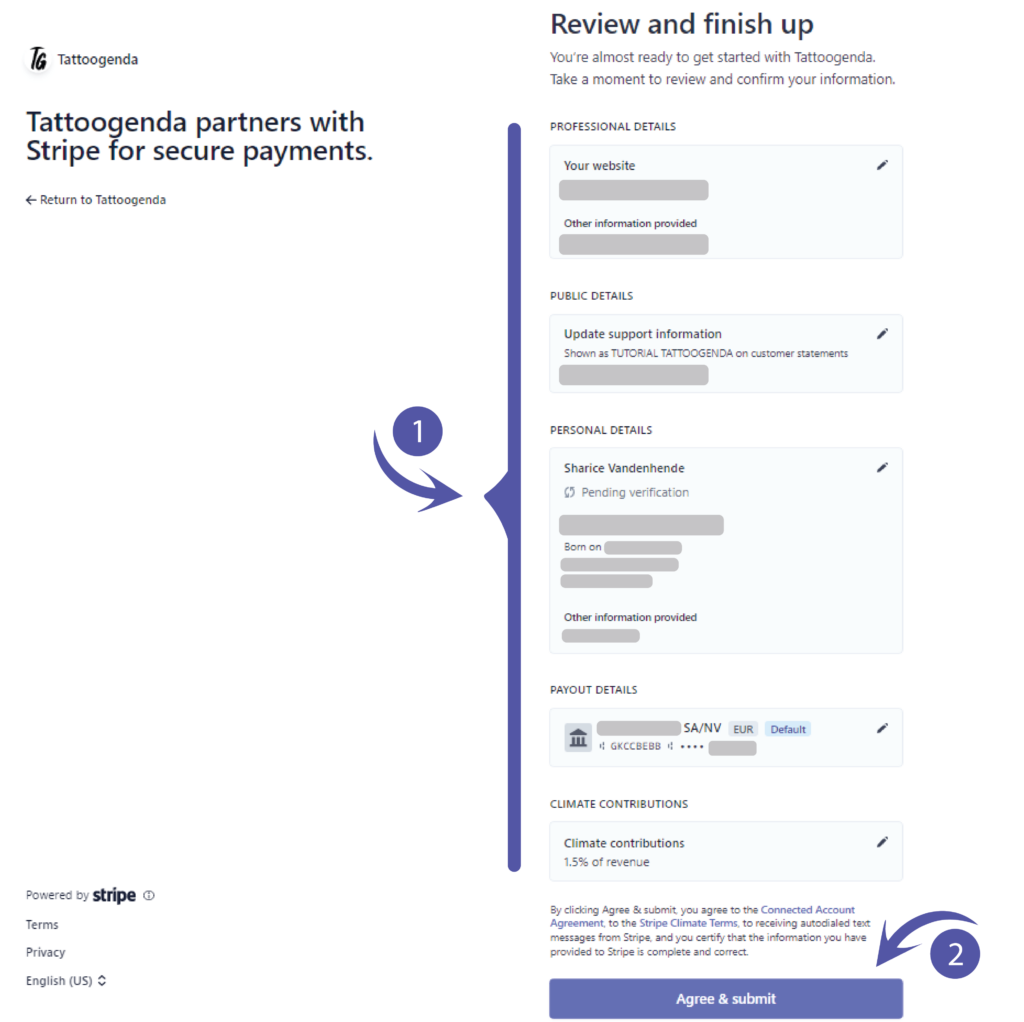
Review and finish up.
This will hold all the information you have just filled out.
Please check for any mistakes or preferred changes.
After reviewing click ‘Agree & Submit’.
You will be automatically brought back to your Tattoogenda software.
Please give it a little time to process and it will turn green.
‘You are connected to Stripe’.
This confirms the setup was successful.
You still have a problem or a question?
You can find a little link below called ‘Still stuck? How can we help!’
Written by
Sharice Vandenhende
By Tattoogenda


