
POS integration eliminates double entry, keeps inventory synchronized across locations, and makes artist splits transparent so margins don’t leak. The sections that follow explain the features tattoo studios need, from API basics and system connectors to full integration platforms and iPaaS, so you can pick the right setup for your shop. A well-implemented POS connection keeps online and in-shop sales aligned and keeps aftercare and retail stock accurate across locations, reducing reconciliation and freeing time for client work.
Key takeaways
- Centralized financials: Sync sales, deposits and artist splits into one system so pay runs and tax reporting are automated and less error-prone. That saves hours of reconciliation each month and reduces payroll disputes.
- Use native connectors: Pre-built POS connectors typically deploy in a few weeks and remove double entry with minimal setup. They work well when your needs are basic and you want a fast launch.
- Hardware-ready setup: Match card readers, terminals and printers to how your front desk operates so checkout flows stay smooth. Test devices in real sessions before committing to avoid later disruption.
- Automate reporting: Surface per-artist sales, margins and tax summaries in real time so accounting and payouts run without manual adjustments. Daily or shift summaries make closeouts predictable for managers and bookkeepers.
- Run test transactions: Test flows end-to-end with real payments, refunds and split payouts to catch reconciliation issues early. Use a simple checklist and a one-day pilot to validate the full cycle before you go live.
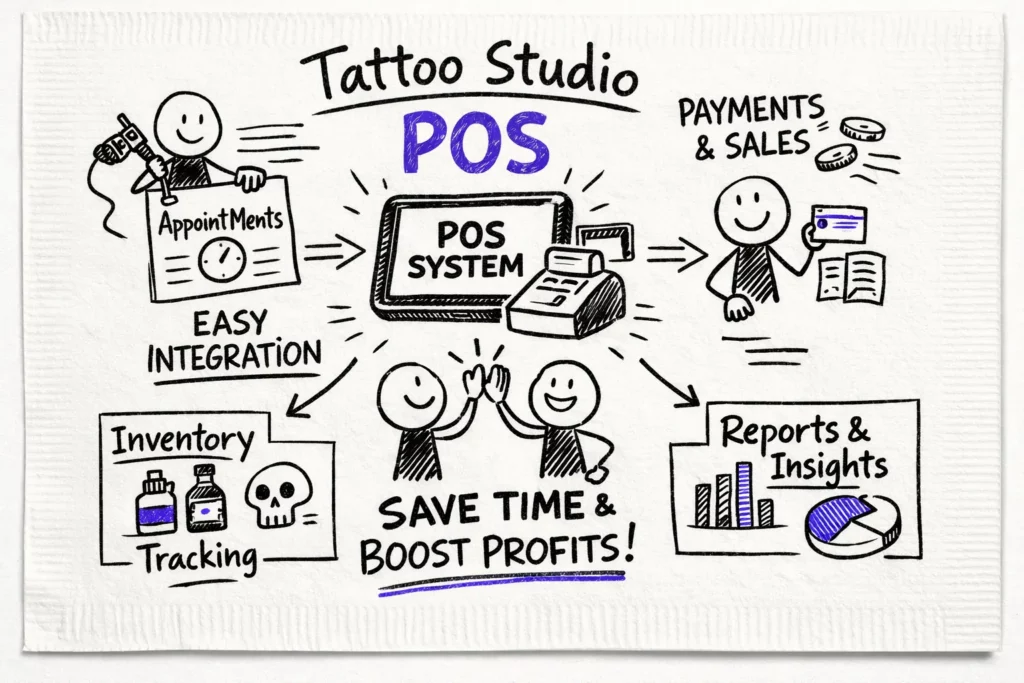
Why POS integration matters for tattoo studios
Integrated checkouts reduce manual errors and speed the client flow, turning reconciliation into a process a manager or bookkeeper can confirm rather than rebuild. Connecting POS to inventory, accounting, CRM, ecommerce and loyalty tools prevents overstocking, surfaces product trends and helps target clients who buy touch-up or aftercare items. For multi-artist shops the benefits compound: pay runs become clearer, disputes drop, and day-end closes run faster because sales splits update in real time. The next section outlines how to choose the right integration approach and set it up without friction.
Choosing the right POS integration approach
Native connectors are the fastest route to a working integration. These pre-built POS system connectors often deploy in one to four weeks and sync sales, basic customer records and inventory out of the box. They typically lack tattoo-specific fields such as artist IDs or split workflows, so choose them when speed and a small budget are higher priorities than custom fields. (See our Las mejores aplicaciones de punto de venta para tiendas de tatuajes.)
If you need more control, consider a POS integration platform or custom development. Middleware and iPaaS tools sit between systems to normalize data, map fields and enforce business rules; expect setup costs from about $100 to $5,000 plus $50 to $300 per month and a two- to eight-week timeline. Custom API work gives the tightest fit for unique workflows but typically costs $10,000 to $75,000 and takes several months to build; it enables richer syncing across locations and advanced reporting tied to inventory, accounting and CRM systems. For a broader look at integration platforms and vendor options, see resources on POS integration platforms.
Use a short decision checklist to match complexity and budget to your shop’s needs. Native connectors work when you can live without artist-specific fields. Middleware fits mid-range requirements and reduces ongoing maintenance, while custom builds suit shops with unique commission rules or multi-location reporting needs.
- Map must-have fields. If artist splits, appointment IDs or detailed product SKUs are essential, rule out connectors that don’t surface them. A clear field map prevents surprises during testing and keeps your accounting clean.
- Match budget to scale. Low monthly fees point to connectors, mid-range recurring costs suggest middleware, and a large one-time budget supports custom work. Factor in ongoing maintenance when you compare total cost of ownership.
- Plan for maintenance. Middleware balances vendor updates and field control, but custom work needs an in-house or contracted developer for long-term support. Decide who will own updates and troubleshoot integrations before you sign a contract.
Picking the lowest-complexity option that meets your must-haves saves time and prevents costly rework. Use a vendor checklist to evaluate connectors, middleware platforms and custom teams before you sign any contracts.
Hardware and on-premise setup for busy shops
Pick hardware that matches how your team works so checkout doesn’t become a bottleneck. Use portable card readers for consultations, a countertop terminal for final payments, and a compact printer for aftercare receipts or product labels. Typical price ranges set expectations: readers and terminals $59 to $399, printers $150 to $400, and scanners or cash drawers $100 to $300. For a general guide on device and system pricing, check vendor cost breakdowns on how much a POS system costs.
Security and offline behavior are nonnegotiable when your shop is busy and margins are tight. Prefer terminals with point-to-point encryption or tokenization to reduce PCI scope, and confirm who handles PCI DSS responsibilities and breach notifications. During setup, test device behavior during an outage by processing several sales and verifying they reconcile cleanly when connectivity returns. For details on PCI best practices and compliance guidance, review the PCI compliance guide.
Your local network matters more than flashy hardware. Segment POS traffic onto its own VLAN, use a dedicated router for payment devices, and plan a backup internet option such as cellular failover or a second ISP. Keep firmware current, use strong Wi-Fi passwords and restrict guest access so payment flows stay isolated and reliable.
Before locking in vendors, request documentation on peripheral compatibility, offline reconciliation and support SLAs, then run a one-day pilot with real transactions. Verify automatic deposit timing, receipt printing and how artist splits appear in your accounting exports. When those pieces work together, front-desk speed improves and your books close easier.
Implementation checklist and common pitfalls
Launching a new integration requires as much preparation as software work. Begin by auditing inventory and standardizing SKUs across channels so stock counts stay reliable. Define artist profiles, commission rules and tip handling, then map POS fields to your accounting categories and tax codes before you configure hardware and network settings. For a focused checklist on choosing feature sets and workflows, review Tattoo Shop POS System: 7 Essential Features.
Common pitfalls are predictable and fixable when you test early. Inventory mismatches usually come from inconsistent SKUs or failing to push product changes to every sales channel, so centralize your catalog and version-control updates. Also simulate refunds, partial returns, artist splits and gift-card flows during your pilot and verify GL mappings to avoid surprises.
If you see drift after launch, act fast: lock SKU edits during reconciliation windows, publish clear refund procedures and add automated reconciliation rules in your integration platform. Run daily reports during the first week and adjust commission rules before payroll runs. Those steps get you from launch into steady operations with minimal disruption.
Automating sales tracking and reporting with POS integration
Good studio reporting begins with clear answers to who made what and what it cost. Look for exports that break down per-artist sales, product margins, tax summaries and end-of-day totals so your accountant or QuickBooks receives what it needs without manual changes. A solid POS integration should eliminate spreadsheets and provide a daily revenue snapshot you can trust for payroll and profit conversations.
Real-time syncing keeps stock and sales aligned so you never guess on inventory after a busy weekend. Tattoogenda maps transactions to artist profiles, appointment blocks and SKUs so sales reports match your roster and service types (see POS System for tattoo shops for more on mapping fields to artist workflows). Ask for CSV and API export options during setup so bookkeeping, payroll and inventory systems receive the same data each night.
Run a simple demo script before going live: connect the POS, validate one week of transactions against bank deposits and check inventory deltas on high-turn SKUs. Include refunds and split payments in the sandbox to catch mapping errors. Once validation is clean, enable daily financial digests and lock down permissions for reliable reporting every day.
Final thoughts on POS integration for your studio
Connecting sales, deposits and artist splits through one system changes daily operations: less spreadsheet busywork, cleaner reporting and payments that align with bookings and consent flows. With a reliable integration, your team spends more time on ink and client care and less on reconciliations. Focus on centralized financials, native connectors for quick launches and hardware-ready setups if you need on-premise reliability during busy shifts. For an overall primer on point-of-sale integration best practices, this point-of-sale integration resource is a helpful read.

